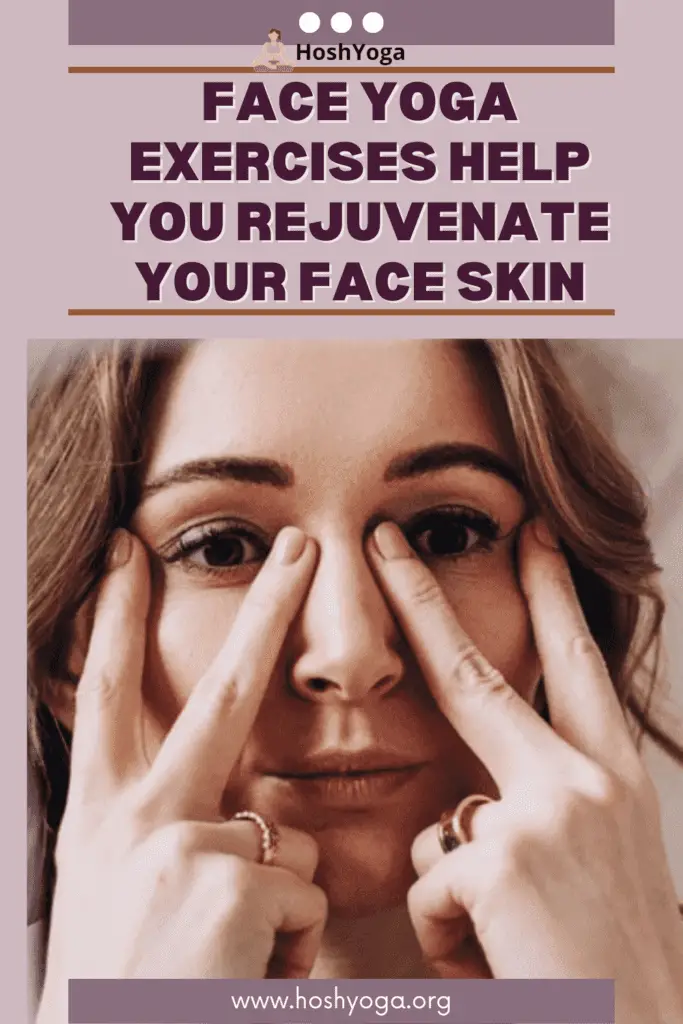
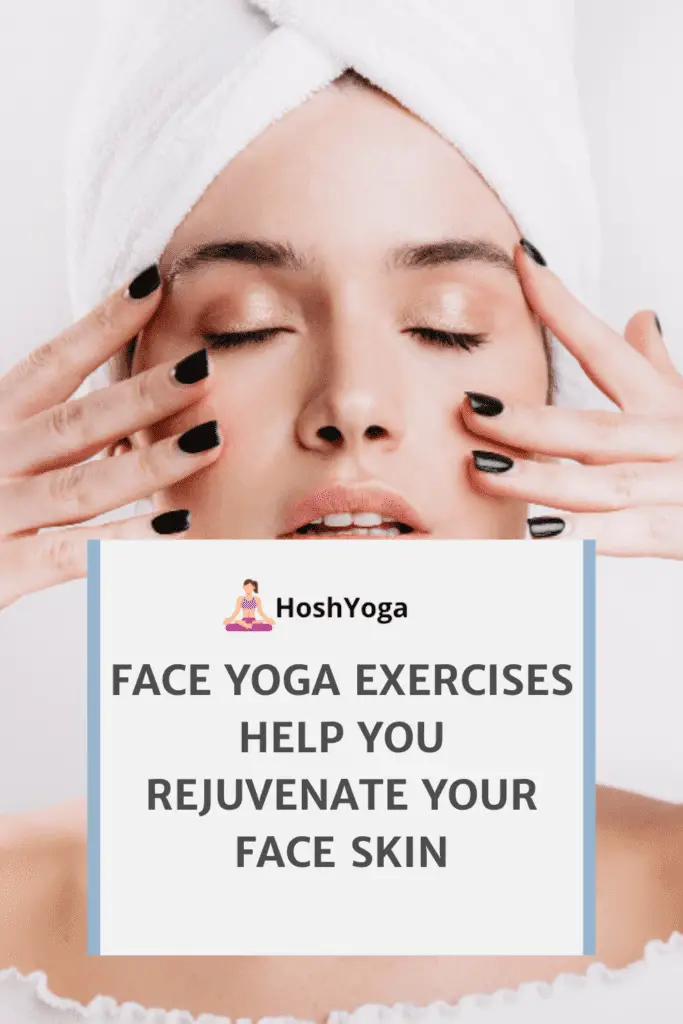
Face yoga is a growing trend of facial exercise and massage that is a natural alternative to Botox and face-lifting procedures. The face yoga method is used to remove the appearance of fine lines and visible aging signs while bringing a facial healthy glow.
This article will tell you everything you need to know about face yoga – the natural way of removing wrinkles and facial imperfections. Read on, as I will help you learn some of the best facial exercises to rejuvenate your face skin.

What is Face Yoga?
Face yoga is a set of exercises, massages, and stretches that aim at exercising and tightening the skin and muscles on the face. These techniques are used to relieve the face from stress, tension, worry, and stiffness. A continuous routine of face yoga exercises also removes fine lines and wrinkles, improves blood circulation, refreshes the skin, and removes black spots and discolorations.
Face yoga is a natural alternative to Botox, plastic surgeries, or face-lifting procedures, providing benefits for the face skin without any risks.

Does Face Yoga Work?
There are numerous testimonials about face yoga efficiency. Almost all face yoga practitioners, who have a regular face yoga and skin-care routine, report at least some signs of improved face skin.
One small research from 2018, found that face yoga helps improve the structural facial appearance by exercising the muscles on the cheeks, eyes, and forehead. Furthermore, the test subjects from the research all reported a younger appearance overall. The study was small, and they didn’t have a control group for the experiment, but every person that practices face yoga is feeling some benefits, so it’s really worth the try.
But, some dermatologists argue that face yoga doesn’t do a big difference. For them, stretching your facial skin during exercising is the same as stretching the skin during natural facial expressions. Both of them may cause wrinkles.
Even though there isn’t a concrete answer to the question “does face yoga work?”, you can easily try and see how it works for you. Regular face yoga routine and a mix of different exercises, massages, and acupressure techniques, are very likely to promote a youthful appearance and vibrant skin.

Benefits of Face Yoga
Face yoga is a natural facelift that improves the skin and the muscles, as well as the overall structure of the face.
These are some of the benefits of face yoga:
- Healthy and vibrant skin
- Facelift
- Smooth skin
- Firm skin
- Smaller wrinkle depth
- Fine lines removal
- Toning muscles
- Better control of the face muscles
- Fuller cheeks
- Tighter lips
- Headache relief
- Remove skin redness or discoloration
- Remove dark circles under the eyes
- Reduce swelling and puffiness of the face
- Better blood circulation
- Release tension and stress
- Relaxation
- Prevent skin sagging
- Improved breathing
- More symmetrical face features
Which Yoga is Best for the Face?
Aside from face yoga itself, some types of traditional yoga practices are known to help the face too.
For example, slow types of yoga, such as Hatha, Yin, or restorative yoga, relax the face and its muscles during practice. Poses that include forward folds increase the blood and oxygen levels in the skin, which aid skin health. Backbend poses, on the other hand, tone and firm the neck muscles and relieve tension.
No matter the type of practice, or the face yoga exercises that a practitioner makes, it’s important to remember to bring awareness to the face during exercising. Note if and when you’re holding tension or stress in your face and as soon as you notice it, release it by doing some face exercise or by simply deeply exhaling and relaxing.
25 Face Yoga Exercises for you
This section will explain step by step the best face yoga exercises you can do to rejuvenate your face skin.
7 Best Face Yoga Exercises for Removing Eye Wrinkles
If you want to remove eye wrinkles with face yoga, these are your go-to exercises:
Easy Crow
The wrinkles around the outside corner of the eye are called crow’s feet. This face yoga exercise can help you remove those lines.
- Start by opening your eyes as much as possible, without wrinkling your forehead skin. Keep for a few seconds and release.
- Then, close your eyes a little bit, but in the process close the lower lid of the eyes. Hold for a few seconds then release.
- The next part of the exercise is to repeat the process, but this time, add some pressure just outside of the crow’s feet area with your fingertips. This will add a little bit of pressure to the muscles.
- Repeat as many times as comfortable.
Eye-Opening Binoculars
This exercise also removes wrinkles around the eyes, but also on the forehead.
- Sit with your neck straightened and your shoulders and forehead relaxed.
- Put your index fingers horizontally at the top of your forehead, right below the hairline.
- Slide them through the forehead, and place them right above your brows.
- Place your thumbs right beside your nostrils to secure your face skin in place.
- Now open your eyes as wide as possible, without wrinkling your forehead. Your fingers will aid the process.
- Stay for a couple of breaths.
- Repeat the process, but this time squint your eyes i.e. close them by closing the lower lid of the eyes.
- Repeat the exercise at least 3 times, or as long as you feel comfortable.
Heart-Shaped Box
The heart-shaped box face yoga exercise with release some of your forehead wrinkles and the lines between your eyebrows.
- Start by placing your finger on top of your forehead, just beneath the hairline.
- With the middle finger massage the space between your eyebrows, moving from the brow line down towards the eyes.
- Repeat this massage around 50 times or as many times as you feel comfortable.

Forehead Resistor
This exercise works your forehead, brows, and eyes area; eliminating wrinkles in all of those face muscles.
- Interlace your fingers on your forehead, applying a little bit of pressure on it.
- Then, push your forehead a little bit back with the help of your fingers. In the process, you can also widen your eyes as much as you can without wrinkling your forehead. The pressure from the fingers will prevent that.
- Repeat this process 50 times and on the last lift, stay in the pose as much as you can.
The Eyebrow Lifter
As the name suggests, this exercise will help your eyebrows and eye muscles, and skin. It’s a true wonder for exercising the face muscles.
- Do a smile and place three fingertips from each hand under your eyebrows. This will force your eyes to open.
- Next, try to frown the brows as much as you can, with the fingertips still pressing the muscles in place.
- Now, close your eyelids and roll your eyeballs up, as you would when wanting to “look” at your brows.
- Hold the pose for around 20 seconds or as long as you can. Release and relax.
“Eleven” Lines
The eleven lines are the lines that form between the eyebrows from frowning and repeated facial expressions that include the forehead. A simple massage technique can relax the muscles and skin between the eyebrows and help you lower the visibility of the 11 lines.
Using only your index fingers, start massaging your forehead. Start between the brows and move up until the beginning of your hairline. Apply a little bit of pressure.
You can do this massage for as long as you want until you feel comfortable doing so.
Eye circles
If you want to remove the eye circles, and lower swelling or puffiness around the eyes, use this technique:
- Put your ring fingers on the inside of the eyebrows and all the rest of your fingers at the outer line of your eyebrows. Your hands will be basically in front of your eyes.
- With the thumps press the temples for a couple of seconds.
- Then, start pressing your thumbs above your cheekbones towards the inner parts of the eye, just below the eye itself.
- Repeat the process for around 30 to 40 seconds.
6 Best Face Yoga for Plump and Firm Cheeks
If you want firm and plump cheeks do the following face yoga exercises:
Hummer
The Hummer is a face routine that will work the muscles under your eyes, at the cheekbones and the lower part of the cheeks, and right at the sides of your mouth.
- Start by opening your mouth wide.
- Then, cover your teeth with your lips. This will tighten the cheeks a bit.
- Now try to lift the cheeks, but without wrinkling your eyes.
- Relax and repeat the process 50 times, or until you are comfortable.
- Note that your cheeks might start to burn and pain a little bit. If it becomes too uncomfortable, stop. Continuous practice will make this exercise easier.
Pufferfish
The Pufferfish helps your cheeks to be plum, firm, and toned, without sagging skin on the sides.
- Start the Pufferfish by taking a big breath through the mouth.
- Keep the air in your mouth and puff your cheeks.
- Move the air bubble from one side to the other, flexing and relaxing the cheek muscles in the process.
- You can do this exercise for up to a minute, or as long as you feel comfortable.
- Release and relax.
The Cheek Lifter
The nasolabial folds are the almost-vertical wrinkles that form at the inner side of the cheeks – from the nose to the sides of the mouth. The Cheek Lifter can help you reduce them.
- Start with a wide smile, showing your teeth.
- Press your fingertips on the nasolabial folds (in the space between the nose and the outer corners of the mouth), along the line.
- Now raise your cheeks, lifting the muscles in the process. Be careful to not close your eyes and expose the crow’s feet lines.
- Use your fingertips to create tension by lowering them towards the mouth.
- Release and repeat the process up to 50 times, if you can. If not, do it as long as you’re comfortable.
Happy Cheeks Sculpting
As the title of the face exercise tells, it will help you form a better cheek structure. It will lift your cheeks while tightening the muscles.
- Start with a smile, while not showing your teeth. A sort of a “fake” smile where you raise your cheeks and widen the mouth as much as you can.
- Place your index fingers at the corners of your mouth and press firmly.
- From there, while still applying a little bit of pressure, move your fingers up, until you get to the cheekbone.
- Once you get to the cheekbone, under the eyes, press and hold for a few seconds.
- Now maintain the pressure and lift your muscles a little bit more, now moving outward along the cheekbone, towards the outer parts of your eyes.
- Press firmly there and hold for 20 seconds.
If you want to get a better sense of how to do this exercise, check the Youtube tutorial over here. It shows a step-by-step tutorial of this face exercise.
Face tapping
Face tapping is a famous relaxing technique that also brings blood flow to the face, rejuvenates it, and tightens the skin.
- Start the process by rubbing your palms to create heat.
- Now, start rhythmically tapping beneath your collar bones for 15 seconds, while breathing deep and slow.
- From there move to the neck and across the shoulders. Continue breathing deeply and counting 15 seconds.
- Next, repeat the process on your jawline and then on your cheeks.
- Then, move to the eyes area, tapping around your eyes, starting above the eyebrows and circling the eye towards the inner parts of the cheekbones.
- Next, tap your forehead for 15 seconds.
- If you want, you can also do the back of your neck and the lower part of your head.
Face tapping is a known face massage routine used to release stress and pressure from the skin, improve and tighten skin structure, and bring healthy face color and glow.

Jaw unlocker
The jaw unlocker will exercise the muscles on your jaw and neck, tightening the face skin and promoting blood flow in those parts of the face.
- Make a fist with your left hand and put it at the outside line of your jaw, with your thumb just beneath your ear.
- Now turn your head to the left, toward the fist until you feel a stretch on your neck. The jaw skin will move towards the chin.
- Press firmly for a couple of seconds and then release.
- Now repeat the process with your right hand.
- You can do this exercise a couple of times on each side.
7 Best Face Yoga for the Lips and Nasolabial Fold
Another very important spot for face yoga practitioners is the lips area and the nasolabial fold. No matter if you have side wrinkles or saggy skin around the mouth, these face yoga exercises and massages will help you work your lip area.
Kiss Me, You Fool
This exercise is used to give definition to the lips and make them plump and firm while improving blood flow and thus giving them more color.
- Pucker your lips as you would do for a kiss.
- Now, using your index and middle fingers tap your lips.
- Repeat the exercise 50 times.
The Joker
The Joker is another easy exercise that works the nasolabial folds and the space between your lips and nose.
- Using your middle and index finger, fixate the nasolabial folds i.e the lines that move from the corners of your mouth to the base of your nostrils.
- Press firmly and then try to smile. Make sure that you don’t wrinkle your eyes.
- The pressure from your fingers will not allow you to freely smile and will strengthen the muscles around your upper lip.
- Smile and release 50 times.
- On the last smile, hold the pose for around 40 seconds.
The Snarl
The snarl will exercise the muscles on your upper lip, and the muscles between your nose and mouth and will also aid the nasolabial lines (or smile lines as some people call them).
- Start by placing your thumbs along the nasolabial lines (the hand positioning is similar to the one you do when you cough).
- Use your index fingers to press and hold the inline part between your brows.
- Now, slightly press and try to lift your upper lip, by only using the muscles of the lip and around the nose.
- Make sure that the brows are not moving.
- Repeat the lifting 50 times and hold 50 seconds on the last lift.
This exercise might look tough at the beginning, but it will get easier and more effective with time.

Hot Towel and Oil
This is not an exercise, but a massage. You can do it with a hot towel or with oils, depending on availability and needs. It will promote blood circulation on the skin, but it will also relax your face and open your pores.
- If you want to do a hot towel, start by washing your face with warm water.
- Then, apply a hot towel to it and let it sit for a while.
- Once you take the towel off, reference our face tapping massage to further improve blood circulation for the face.
You can do a similar massage with oils.
- Once you rinse your face, tap it with a towel to soak all the water.
- Then apply oil to your fingertips and start tapping and massaging your face.
- Your movements should be upward and outward, not towards the middle of your face.
Third Eye Massage
The Third eye is the space between your brows and a little bit up towards the middle of your forehead. A third eye massage will relax you, but will also improve blood circulation to the forehead while lowering wrinkles and their visibility.
- Press your index finger between your brows and press for around 10 seconds.
- Then, do circling motions in one direction for 20 seconds, and 20 more in the opposite direction.
Laugh Lines
I already mentioned a couple of exercises for the laugh lines or the nasolabial lines (refer to the Snarl and Joker exercises). Next, I will also propose a simple, yet effective massage for the laugh lines. It will bring more blood flow to the laugh lines, and with that more regenerating nutrients and oxygen.
- Bring yourself to a neutral, relaxed facial expression.
- With both the index and the middle finger start gently, but firmly massaging the nasolabial lines.
- Start from the base of the nose and move down to the corners of the mouth, continuing towards the ends of your chin.
- Once you get down to the chin, move in the opposite direction, back towards the nose.
- Repeat this massage as many times as you want.
Lion’s breath
The Lion’s breath is a great exercise for the whole face but also releases tension and stress since it’s also a wonderful breathing technique.
The lion’s breath can be done in two parts.
- The first part starts with a deep inhale.
- While exhaling, do so through the mouth and release a HA sound.
- Stretch your tongue as much as possible down toward your chin.
- Your eyes should gaze up, toward your third eye.
The second part has the same breathing technique, but:
- Before you start, place your index fingers at the top of your forehead, just below your hairline.
- During exhale, you start moving your fingers towards your eyebrows, massaging your forehead. The tongue stretch, the HA sound, and the up-gaze are not changed.
You can head over to this short Youtube tutorial which will tell you exactly how to do this exercise and get the most out of the face muscles.
5 Best Face Yoga for Wrinkles
Wrinkles are surely one of the biggest problems of face skin. So, I’ve a list of 5 effective face yoga exercises you can do to remove wrinkles. Read on.
Forehead Freeze
Usually, we use our forehead a lot for almost every facial expression we make, and with that, we deepen the forehead wrinkles.
This exercise is very easy and very useful to do, especially if regularly practiced. Its point is to train your face to not use the forehead that much during every facial expression. Usually, we use our forehead a lot for almost every facial expression we make, and with that, we deepen the forehead wrinkles.
- Start by placing your hand (or both hands) on your forehead. Press firmly to prevent your forehead from moving.
- Then, close your eyes, take a deep breath and open your eyes, widening as much as possible.
You will notice that as you open your eyes, your forehead will like to move too. Use your fingers to prevent it from moving. Do this exercise regularly and your facial expressions will use the forehead less in the future.
Brow smoother
The Brow smoother will relax and freshen up your forehead, removing stiffness, stress, and rigidity.
- Place your fingertips in the middle of your forehead facing each other.
- Slightly press to apply some pressure and start moving your fingertips away from each other, towards your temples.
- Release your fingers to relax the skin.
- Repeat the process for 30 seconds.
Neck massage
Another great massage on your list – is the neck massage. Not only it will help with the sagging skin on the neck, but it will also release stress and stiffness from your body.
- Start by tilting your head to the back.
- Place your fingertips at the upper part of your neck.
- From there, with gentle pressure, slide the fingers down to the collarbone.
- Press on the collarbone for a couple of seconds and then release.
- Repeat this massage 15 times, or for 30 to 50 seconds.
- If the sides of your neck feel stiff, you can do this massage to the sides too.
Neck and Jawline
This is another exercise for the sagging skin on the neck, jaw, and upper chest area.
- Start by placing the tip of your tongue on the upper part of your mouth, the so-called roof.
- Look up towards the ceiling as much as you can or feel comfortable.
- Then, smile and try to swallow.
- If your neck is too tilted, lower it down until you feel like you can swallow.
It might be hard at the beginning and you might feel some pressure in your throat. If that’s the case, do only as many swallows as it feels comfortable.
Kiss the Sky/TMJ Special
This face exercise is great – quite easy to make, yet very effective. It will help with the excessive skin on your neck and the so-called double chin, while also exercising your cheeks.
- Start by lifting your chin upwards, towards the sky, while keeping your shoulders down. Get to a point where you feel your neck skin tightening.
- Pose your lips like you’re giving a kiss, and blow air through it.
- Repeat the process 5 times if you need to take breaks, or for up to 10 breaths.
Conclusion
Face yoga is a natural face lifting procedure without any risks or negative side effects. It provides a lot of nourishment for the skin, toning for the muscles, and improves overall skin structure.
In this article, I’ve shared with you some basic things about face yoga and I’ve also explained 25 different face yoga exercises and massages you should try. I highly recommend all of them!
I’d love to see all your glowing faces in the comments – be it some exercises, personal beliefs, noticeable improvements you want to share, or anything else I might have missed in my article.

