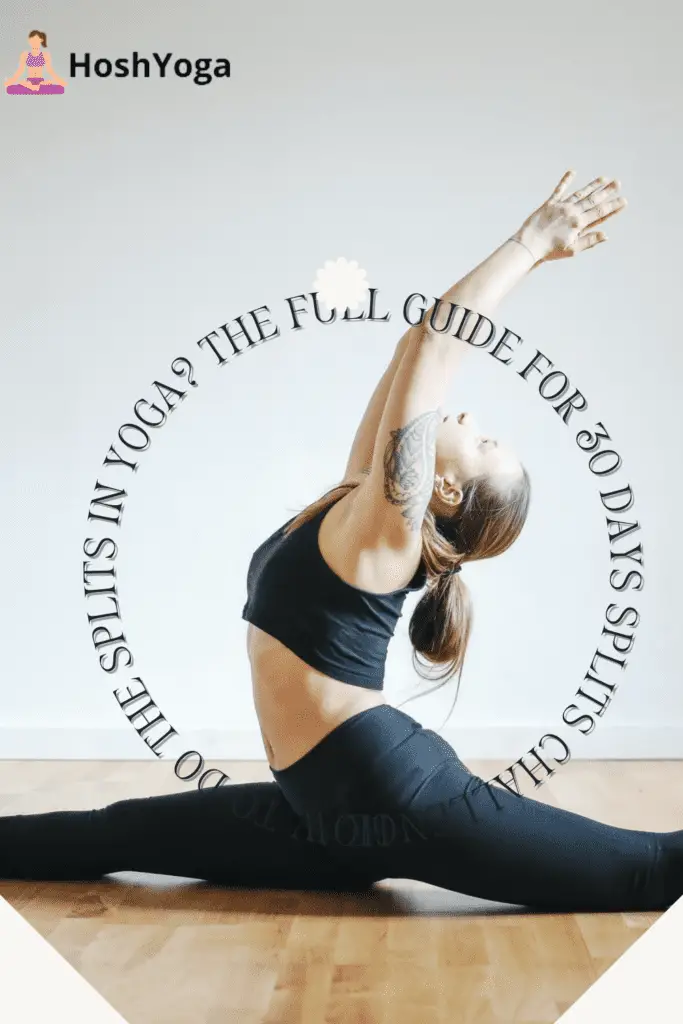
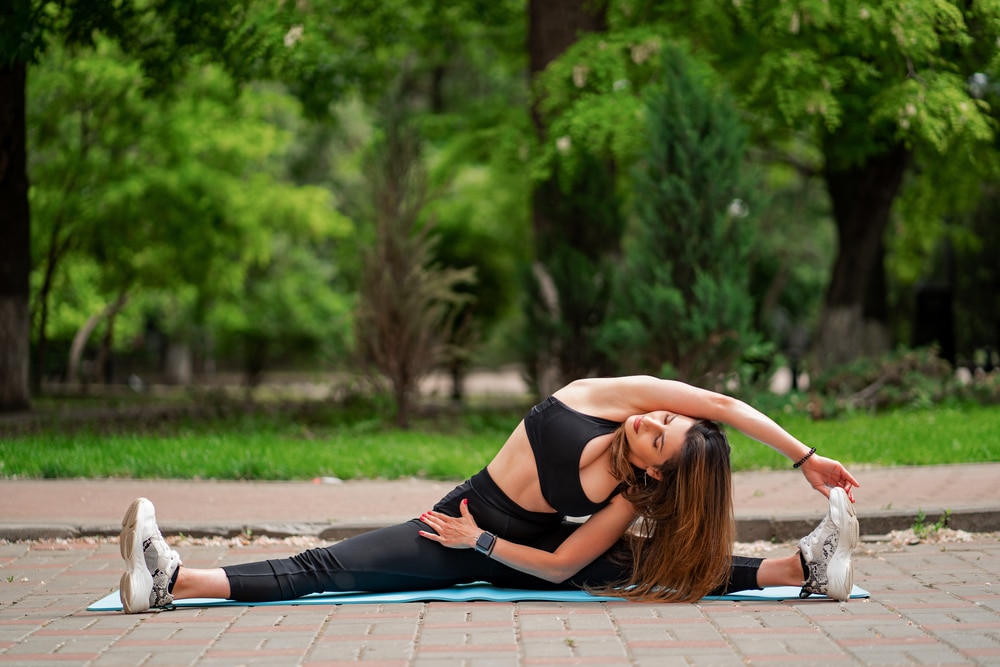
There are many different ways to learn how to do the splits in yoga. Some people may find that they can do the splits by themselves by following certain instructions, while others may need a little more help.
Different types of stretches and poses can be used to achieve the splits. But there’s so much more to know, like the stretches for splits. How to do the splits really? And how long does it take to do the splits? And we’ll cover all the details in this guide for you.
What are the Full splits?
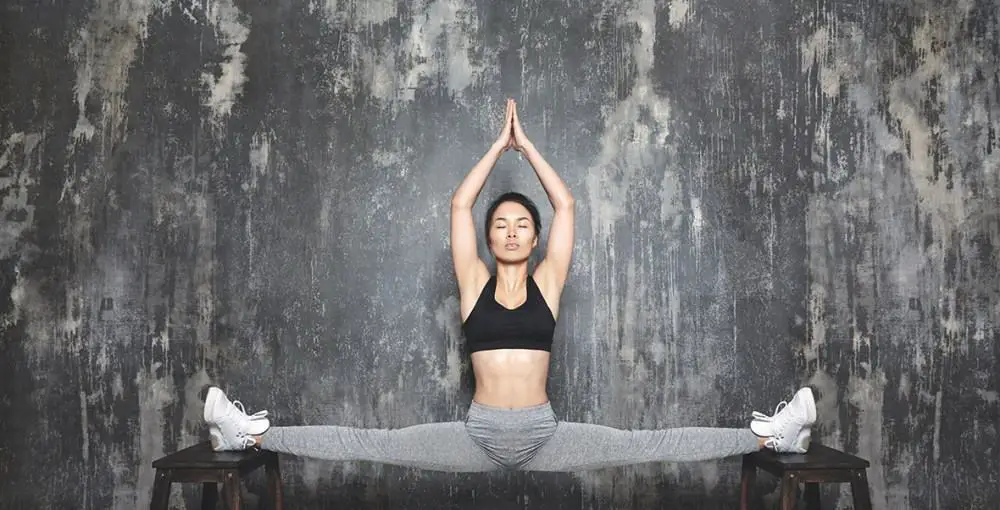
The full splits, also known as “pancake splits,” are a highly challenging form of flexibility that requires total body separation from your hips all the way down to your toes.
The technique for fully achieving a split is often taught through a series of progressive exercises designed to open up each part of the body gradually.
Some yogis may succeed by fully separating their hips first and adding in the other splits one at a time, rather than tackling all parts at once. Regardless of how you approach it, mastering the full splits takes plenty of practice and dedication.
The Benefits of a 30-Day Split Challenge
Have you ever considered doing a 30-day split challenge? It’s a great way to improve your flexibility, strength, and overall fitness. Here are some of the benefits that you can expect to experience:
1. Improved flexibility – One of the main reasons you should do a split challenge is to improve your flexibility. By stretching every day, you’ll gradually be able to increase your range of motion and eventually be able to do a full split.
2. Increased strength – Your flexibility will improve, but you’ll also start to build strength in your legs and core muscles. You’ll be using these muscles to support your body weight when stretching.
3. Improved balance – Another benefit of doing a split challenge is that it can help improve your balance. You’ll need to engage your core muscles to stabilize your body as you stretch into different positions.
4. Improved mental focus – Doing a 30-day split challenge is a great idea to become a master eventually and fully control your body.
Doing a 30-day split challenge is a great idea to become a master eventually and fully control your body.
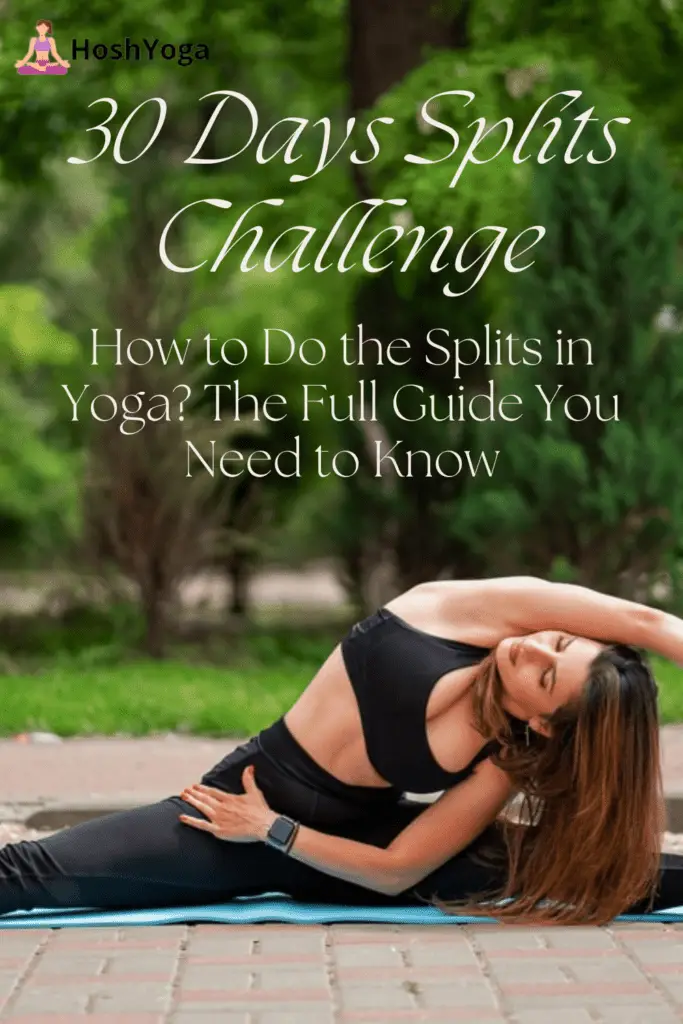
How to Do the Splits in 30 Days?
Though it may take some time and effort, following these stretching techniques can help you achieve a split in just 30 days. To start, find a comfortable spot on the floor where you have enough room and follow the stretches below.
How To Do Splits On You Knees
When you’re feeling warmed up, slowly lower yourself down into a lunge position with your back leg extended behind you. Gently lower your back knee to the ground and slide your front leg forward until you are in the splits position.
Remember to keep your core engaged and your breath steady throughout the entire exercise. To come out of the splits, simply press into your front foot and extend your back leg until you are back in a lunge. Repeat the stretch on both sides for the best results.

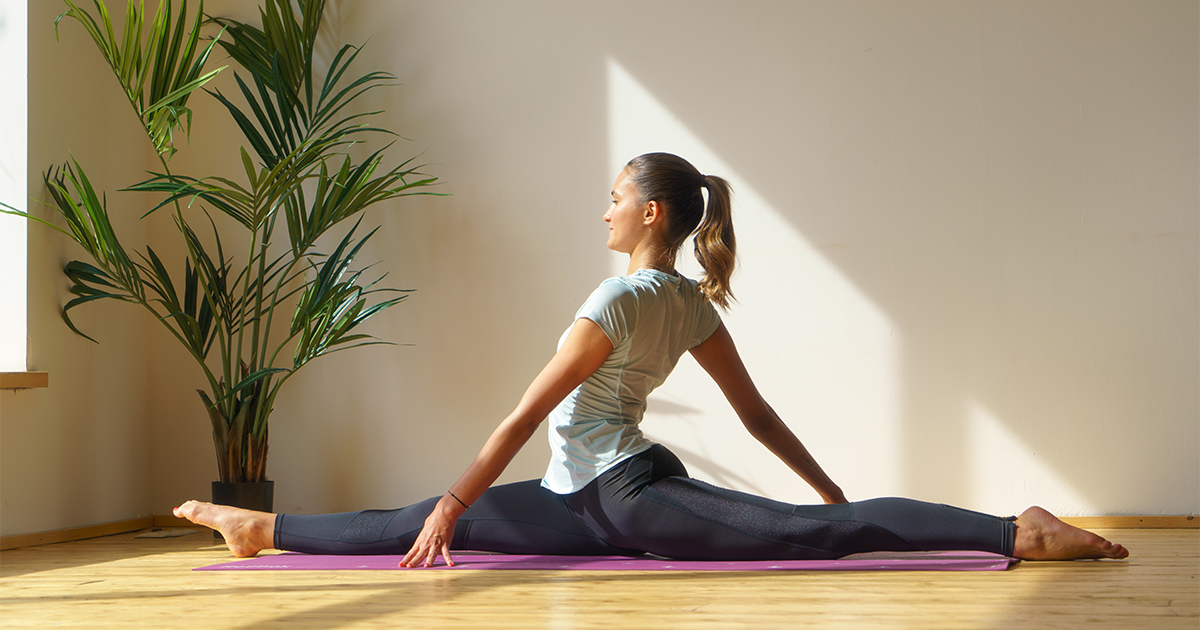
How To Do The Splits With Your Body
To do the splits with your body, start by warming up with some light stretching. Then, slowly lower yourself into a lunge position, keeping your back straight and your front knee directly over your ankle.
Once you are in a lunge, begin to shift your weight forward until you feel your rear hip touch the ground. From there, simply extend your front leg straight out in front of you. If you find that you cannot lower yourself all the way to the ground, try placing a pillow or yoga block under your rear hip for support.
With enough practice, you will eventually be able to do the splits with your body and be fully satisfied with your mind and yourself.

The Exercise Routine For Each Week
In order to succeed with a 30-day split challenge, we recommend following this schedule and stretches day by day. Of course, don’t expect to be fully flexible by the end of the month, but the results will be clear.
- By the end of the first week, you should be able to do a basic forward fold and Downward Facing Dog. Remember not to skip your daily session.
- In the second week, you can add in some hamstring stretches like standing forward bend and low lunges. Make sure to warm up for at least 15 minutes.
- By the third week, you should work on your hip flexibility with poses such as pigeon pose and side plank.
- Finally, in the fourth week, your body should be flexible enough to be almost in full splits.
Whether you are new to yoga or a seasoned practitioner, doing splits can be a great way to challenge your body and improve your flexibility.
5 Essential Splits Stretches for You Try
There are a lot of benefits to doing the splits. For one, it can improve your flexibility and range of motion. Additionally, it can also help to stretch and strengthen the muscles in your legs.
If you’re looking to improve any of these areas, then these splits stretches will help you become a yogi master.
Pyramid Pose (Parsvottanasana)
The Pyramid pose is an excellent yoga posture for improving flexibility and strengthening the body. It is a profoundly restorative pose that requires both strength and balance. To perform this pose, start by standing in Tadasana with your feet parallel and hip-distance apart.
Take a deep inhale, and place your left foot in the back. Bend your right knee and place your right hand on top of your right ankle, or use a yoga block or the seat of an upright chair under your right hand for support if needed.
Keep your spine long as you bend at the waist, bringing your left hand toward the mat as close to your left toes as possible while erecting the torso.
Hold here for 5-8 breaths, breathing steadily and feeling a beautiful stretch through all sides of your torso, particularly in the low back, side body and neck.
If you want to intensify this pose, repeat it on the opposite side by switching places with the feet and hands. Bringing both arms up over the head into Vinyasa helps close out the Pyramid pose beautifully before moving into Downward Dog for counterbalance.
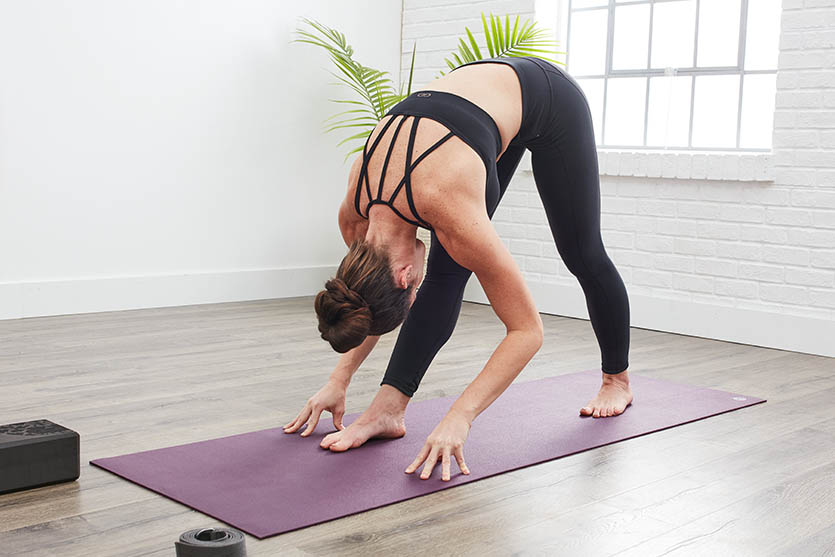
Wide-legged Forward Fold (Prasarita Padottanasana)
Start in a Mountain pose with your feet together and your hands at your sides to do the pose. Then step your feet wide apart, keeping your toes pointing forward. Bend your knees and lower your hips towards the floor. Place your hands on the floor in front of you, and then walk them forward until your arms are straight.
Keep your back flat as you fold forward from the hips, bringing your chest towards the floor. Hold the pose for up to one minute. To release the pose, slowly walk your hands back to your feet and come up to standing.

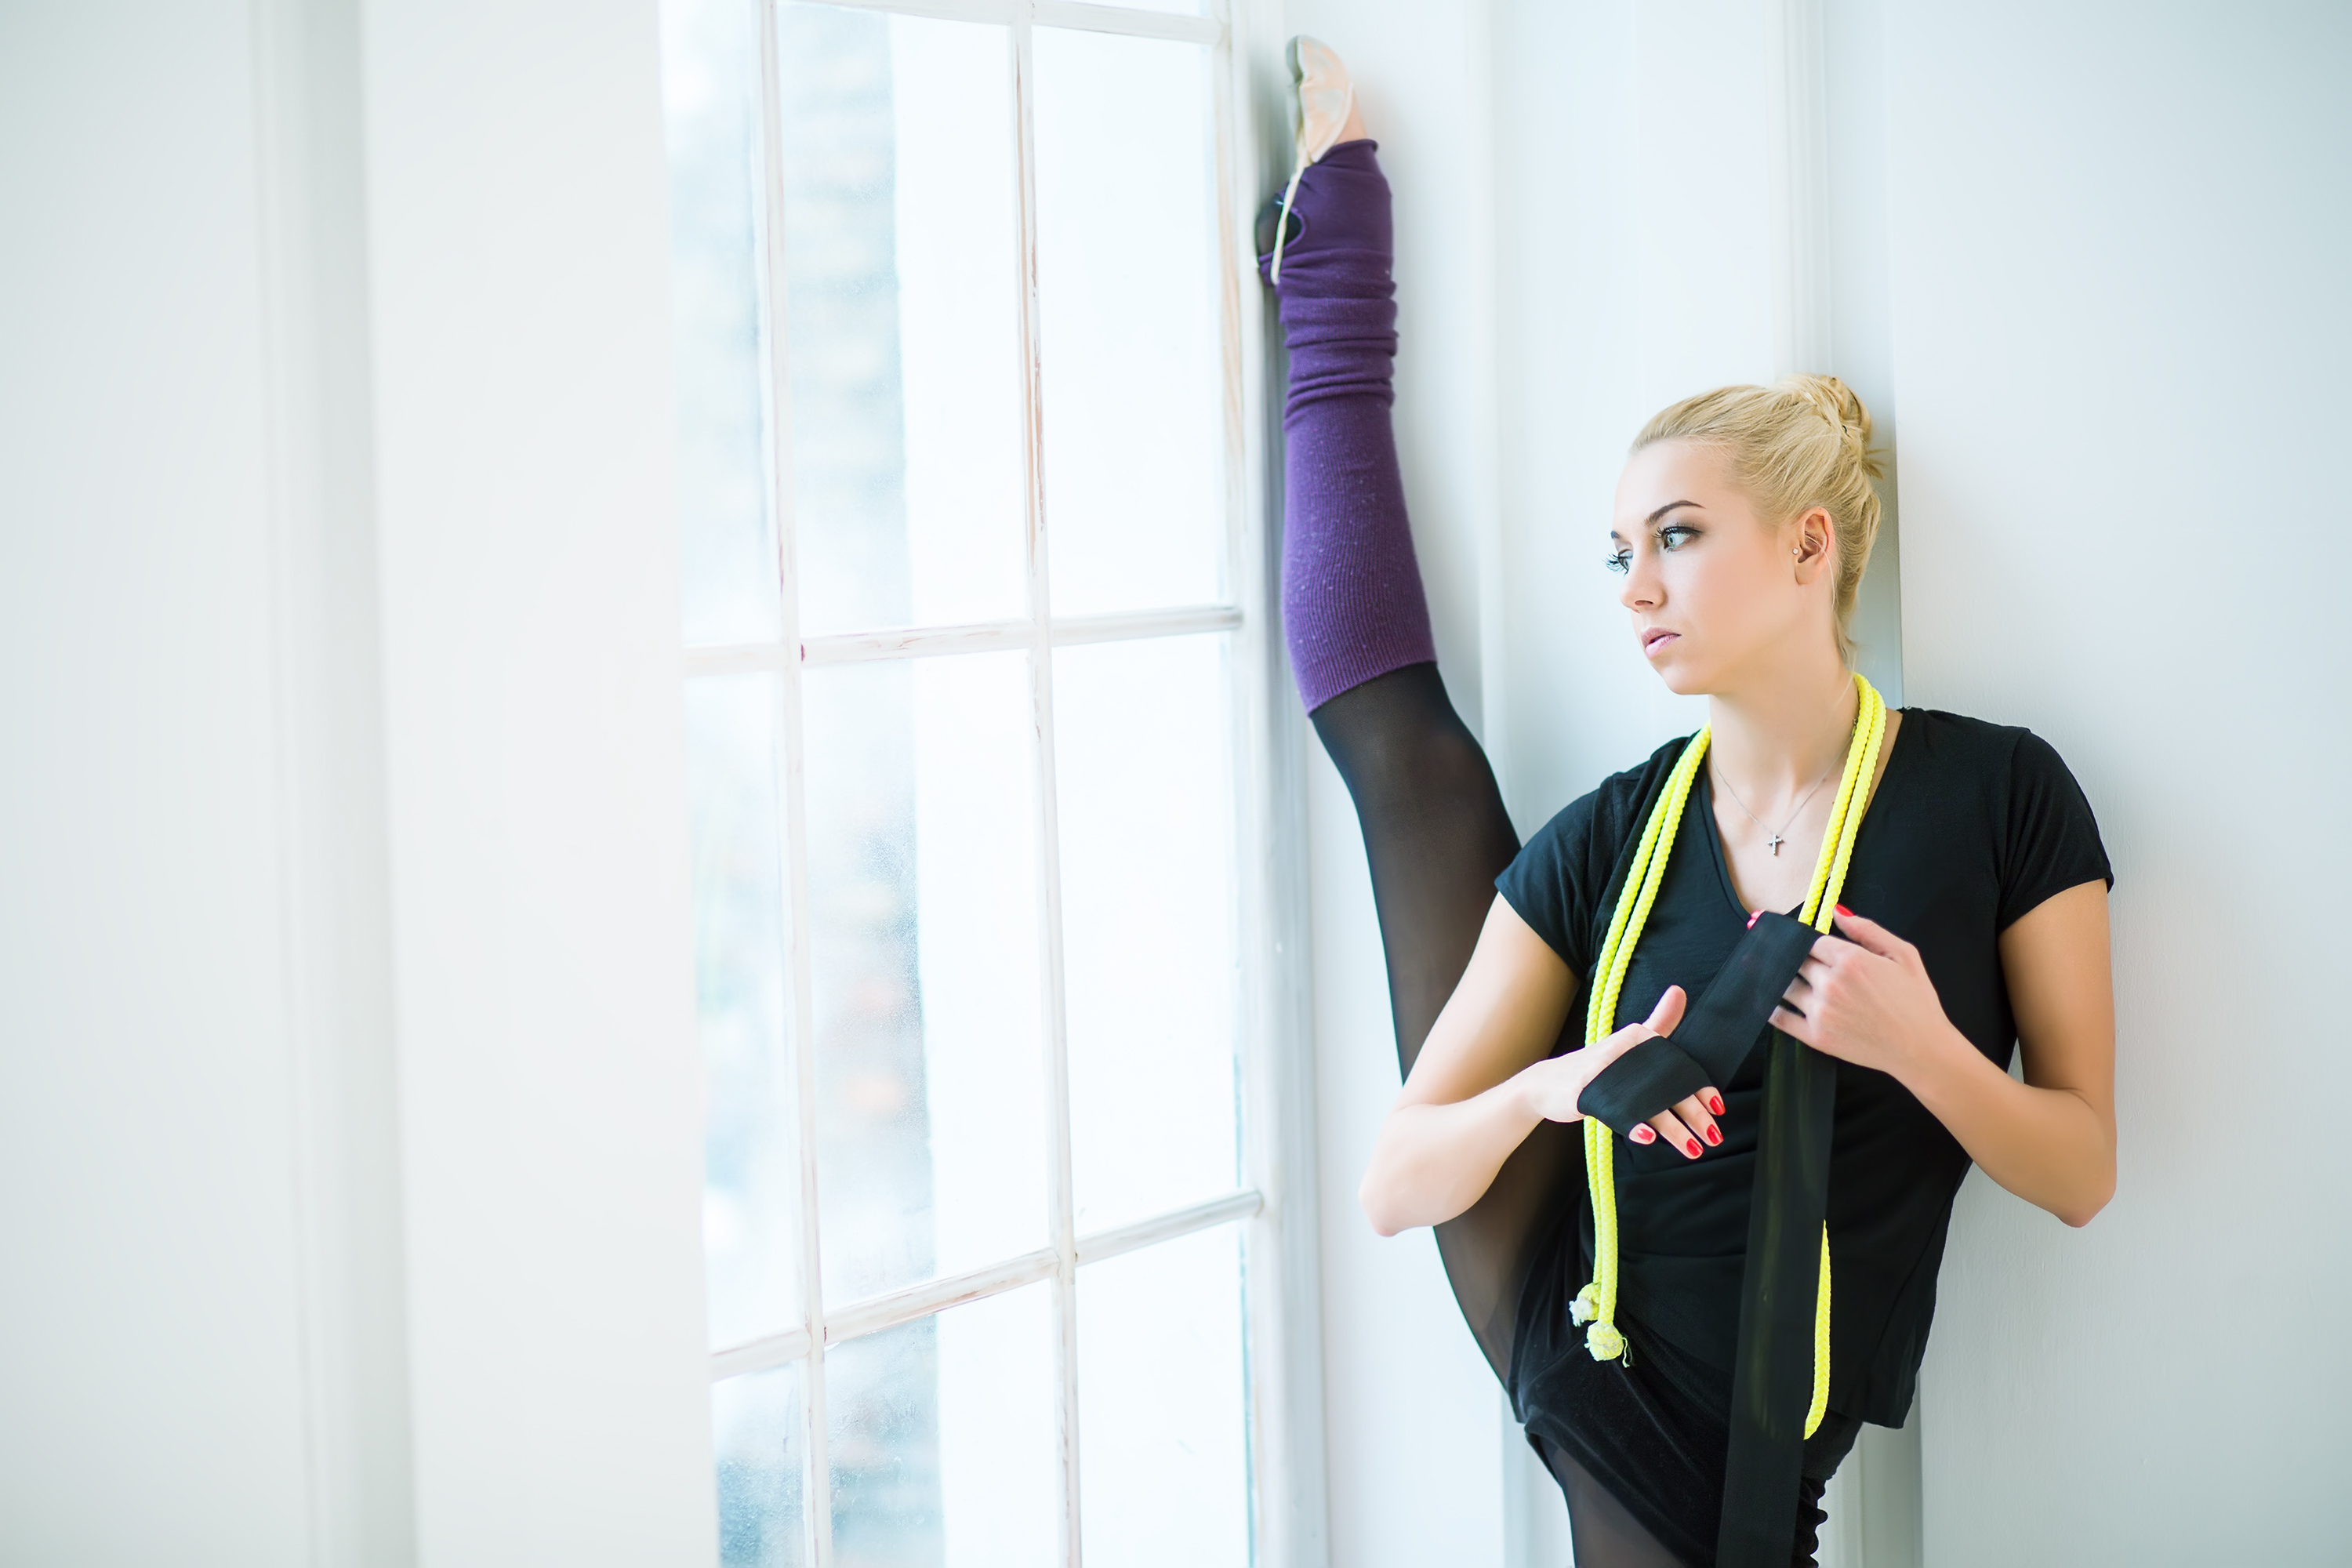
Standing Splits on the Wall (Urdhva Prasarita Eka Padasana)
Standing Splits on the Wall, also known as Urdhva Prasarita Eka Padasana, is an advanced yoga pose that requires patience, focus, and flexibility. To perform this pose, one begins by standing in front of a sturdy wall with the feet about hip-width apart.
Next, you will need to stretch one leg forward and bend your knee so that it lightly touches or rests against the wall behind you. Then, starting with the heel of your other foot flat on the floor and holding onto the ankle of your bent leg behind you, you will slowly begin to straighten that leg until both legs are at full extension against the wall.
Some people may find that they need to use a block or two against their lower back for support when initially attempting this pose, while others might benefit from using a folded towel or strap under their raised heel in order to maintain proper alignment and stretch deeper into the quadriceps muscle groups.
No matter what modifications you decide to make when practicing Standing Splits on the Wall, always be sure to breathe slowly and deeply throughout each session in order to fully reap all its wonderful benefits!
Seated Head to Knee (Janu Sirsasana)
Seated Head to Knee (also known as Janu Sirsasana) is one of the foundational yoga poses that is often recommended for beginners.
This pose is great for stretching out the hamstrings and opening up the chest and shoulders, making it an excellent way to improve flexibility and release tension in the body.
To get into the Seated Head to Knee stretch, you simply need to sit down on your mat and keep your legs in the front. From here, slowly bend your right knee and put your right foot sole against your left thigh. Then, stretch your arms forward as you slowly extend your spine until it is completely aligned with your legs.
Hold this position for a few breaths, then repeat on the other side. As you practice this pose regularly, you will find that it helps to relieve stiffness and promote overall flexibility. So why not give Seated Head to Knee a try today?

Full Splits with Blocks (Hanumanasana)
Hanumanasana, or full splits with blocks, is one of the wonderful stretches for splits that can help to improve your flexibility and strength.
In order to do this pose, begin by placing two blocks on the ground in front of you. Place one block at the base of your spine and the other block at your sacrum. Then, sit down on the blocks, making sure that your pelvis is square.
From here, extend your legs out straight in front of you and begin to lower your torso down towards the ground. If you can’t reach the ground, simply rest your hands on your thighs.
Once you are in the full splits position, take a few deep breaths and hold for up to one minute. To release from the pose, press down into your hands and slowly lift your torso back up to an upright position. Take a few deep breaths and then repeat on the other side.

Common Front Splits Misalignments
There are four main types of misalignment in the front splits knee, hip, ankle, and spine. Let’s take a closer look at each one.
Rotated Back Leg
If your pelvis isn’t level, the foot may turn to rest on the inner thigh, calf, and toe. Make sure your back foot makes contact with the ground and that you’re resting on the front of your quadriceps. If the stretch is too difficult, place a block or two underneath your front thigh for support.
Spine Misalignment
To properly align your spine during a front split, keep your pelvis in a neutral position and stack your hips over your knees. Avoid arching your lower back or letting your pelvis tilt too far forward or backward. Instead, keep your spine in a straight line from your tailbone to your neck.
Hip Misalignment
Make sure you’re not placing your back leg close to the ground by resting on your front hip/glute. People who have tight hamstrings or quads are prone to doing this. Prop yourself up with blocks and lower both hips equally by keeping them level with one another.
Can Anyone Do Splits?
Splits are undoubtedly one of the most impressive and difficult physical feats that a person can master. Splitting requires great strength, flexibility, and coordination. But does this mean that only those with special gifts for ballet or gymnastics can successfully do the splits? Not necessarily.
In reality, anyone can learn to split if they put in the time, dedication, and hard work necessary to achieve their goals. How long does it take to do the splits? With some training and practice, even complete beginners will find themselves able to do full splits after a 30-day split challenge.

How Long Should I Stretch A Day For Splits?
The optimal length of stretch time for splits will depend on several different factors like your flexibility level. If you are just starting a stretching routine for split flexibility, it will probably be best to begin with shorter stretches – perhaps 2 or 3 minutes per side.
This will allow your muscles to begin to adapt and loosen gradually, without putting too much stress on your joints. If you have advanced flexibility and are looking to optimize split training, you may want to try increasing the length of your stretches over time.
If you want to know how to do the splits quickly, then your best bet is to practice 15 minutes twice a day for 2 to 4 weeks.
Simple Tips To Make Your Split Exercise Better
As any seasoned fitness enthusiast knows, a good split routine is essential for maximizing the benefits of your workout. By carefully targeting different muscle groups on different days, you can effectively build strength and improve your overall fitness level.
However, there are a few simple tips that you can follow to make your split routine even more effective.
First, be sure to warm up thoroughly before each session. A short period of light cardio will help to get your blood flowing and prepare your muscles for the rigors of exercise. Second, focus on quality over quantity. Instead of trying to cram in as many reps as possible, take the time to perform each rep slowly and with perfect form.
Finally, listen to your body. If you struggle to complete a set or feel unusually tired, it may be time to call it a day.
Conclusion
Whether you train for months or do split challenges, this technique is undoubtedly one of the most impressive and difficult physical poses that a person can master.
But If you follow a 30-split challenge and the stretches for splits we listed in this complete guide; you’ll be flexible in no time. Comment below if you know any secret tips for how to do the splits?