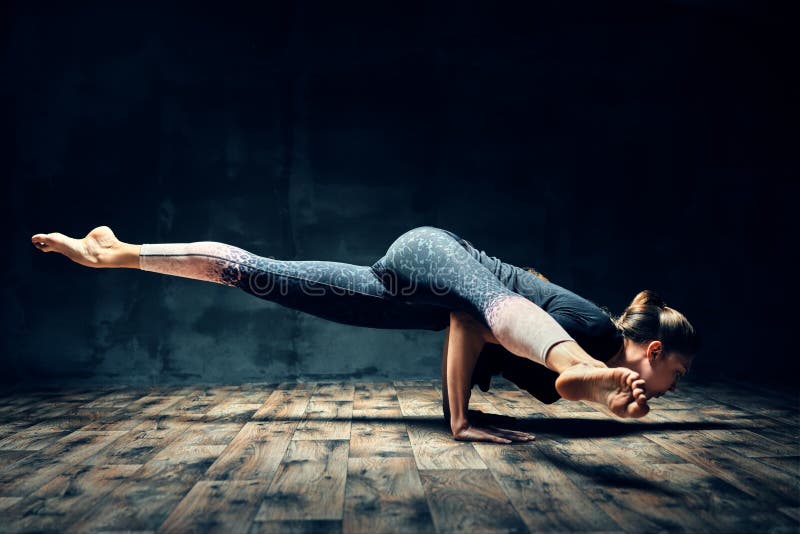
Arms are typically balanced. Arm balances may assist to boost self-esteem, bravery, and strength of character. They’ve become a modern-day yogi’s go-to.
Then they’re a fantastic method to embrace our activity and our body with inquiry and enjoyment! Our guide is a great option for those who are fresh to arm balancing and want to improve on their strength.
Now, let’s get into the yoga arm balances poses.
Tips For Moving To Yoga Arm Balances Pose
If you’re interested in yoga generally, the first thing that awaits to be covered are tips for moving to the yoga arm balances pose made by experts. So, let’s have a look at how you can do this.
- Place your weight where it’s needed most
Place your weight on the metacarpophalangeal (MCP) articulation at the base of your fingertips and the top of your palms instead of being on the bottom of your hand while executing arm balances.
Nothing can save you from falling to the ground when you have all of your weight in your fists. It is easier to do a Handstand if you shift your dynamic equilibrium to the front.
- Core stability and isolation are two important skills to master
It is necessary to discover the capacity to shut apart from one portion of the body, such as the core, arms, or shoulders, so that you may go to more complex poses from that point of stabilization.
In yoga, you may practice this by stretching your stomach or compressing your corset in every posture to strengthen your core. Activating the core when doing a Handstand or forearm balancing becomes part of the routine with time.
- Improve the range of motion in your wrists
It’s possible that the muscular tension in your forearms will prevent you from achieving the balance necessary to hold a Handstand (or other arm balances) if you don’t have enough wrist movement. If you put in the effort, your wrists will be high in strength enough to sustain your body weight in a posture or arm balancing.
You may warm up your wrists for approximately five minutes- until they begin to feel a little sore – before any session or practice. Don’t forget to train your wrist’s joint mobility by revolving it around your hand. Beginning with knees bent, lean forward as well as backward until you perform this exercise, then create circles with your arms straight.
This should be done on both hands. Extend and retract your hands in a clockwise and counterclockwise motion.
- Navigate with complete control
Incorporate attentive movement into all aspects of your daily routine. Reversals and arm balances demand us to learn about mobility and overcome our apprehensions in order to do them.
Every time we put ourselves through a scary or stressful scenario, we get a bit more insight into who we are and how we handle stress. With awareness, the dread fades away because we realize what is happening.
Yoga Arm Balances For Beginners: Warm-up
Take a minute to warm up before you begin. You may perform some joint rolling or Pawanmuktasana for your wrists. Sun Salutations may be practiced for 5 to 10 repetitions. Plank for another few breaths, then carefully lower yourself to Chaturanga.
For the next two minutes, maintain Downward Facing Dog and Dolphin. This is a great warm-up for Headstand, too. As beginners, you’re probably not familiar with many yoga poses that are appropriate for warming up. So, let’s get through some of them in more detail.
- Leg Stretch
Lift your legs straight to the ground, perhaps one at a period both at the same time, to begin working them. Raise one leg off the ground and point the bottom of your foot toward the ceiling while keeping your lower back firmly anchored and your pelvis in a neutral position.
Continue to stand with one foot on the floor or bring the other up to meet the first. If you find it difficult to straighten your legs, it is quite fine to leave them bent.
Raise legs as much as is convenient for you; they don’t need to be perfectly perpendicular. The soles of your feet may be more comfortable if a strap is wrapped around that one.

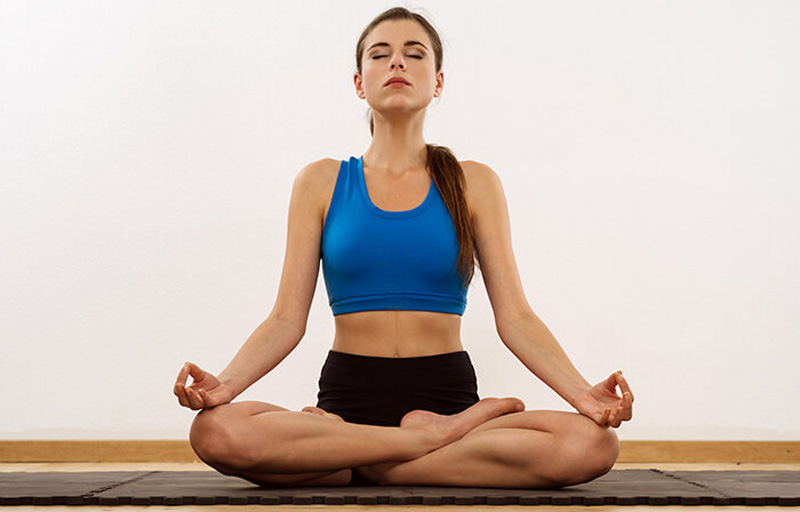
- Sukhasana (Easy Pose)
Sit cross-legged on the floor for a simple posture (Sukhasana). Underneath your seat, lay one or two wrapped towels to lower your hips.
Perform a couple of neck rolls while you’re in this position. The first step is to lower your chin to your chest.
After that, bring your chin to your left shoulder, make a circle with your head, and finally, move your chin to your right. For around five revolutions, softly circling and working through any stiffness is recommended.
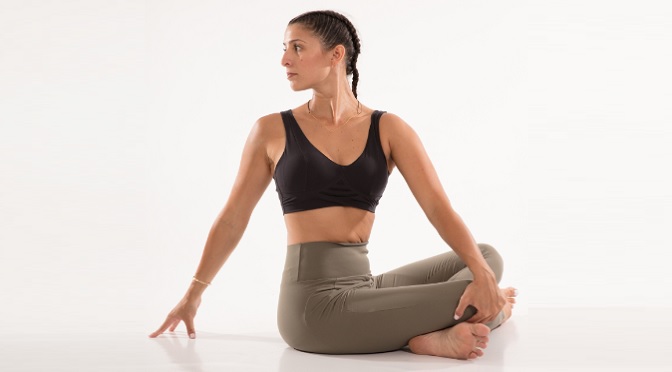
- Easy Twist
While keeping your legs relaxed, do a right-hand spin, trying to bring your left hand to your right knee and your right hand there next to your back. Slightly turn your head to look to your right.
Turn to the left and look across your left shoulder with your right hand on your left knee and your left hand behind your back.
Keep in mind that it’s just a warm-up, so don’t go all out with this twist. If you’re doing an easy position, you may also do a forward bend here.
15 Yoga Arm Balances Poses
Now when we have checked out some warm-up exercises as well as a few tips on what things you should do to perform yoga correctly, it’s time to see our list of 15 yoga arm balances that will surely leave you speechless. So, without any further ado, let’s jump straight to them.
1. Supported HeadStand
This pose represents one of these that no one would ever want to avoid doing. It brings many positives which will affect your mood and calmness. Kneel down on the ground.
Your arms should be at shoulder-width range and your elbows should be intertwined. Your knees should be drawn in toward your chest one at a time.
As soon as you’ve regained your footing, raise them as high as you can.
- Set your forearms firmly on the ground and bring your elbows together like a magnet. Your shoulders and spine will be activated, while your neck will be relieved of strain.
- Go as far forwards as you can with your toes. Lifting your toes off of the floor will be simpler if your hips are taller.
When you raise your legs, press your inner thighs firmly.

2. Tittibhasana (Firefly Pose)
Straightening your legs from Bhujapidasana is all you need to do to enter Firefly. However, releasing the neat little box is a difficult shift. When your legs are on their own, it’s far more difficult to control them.
As a result, it’s critical that you press your arms with both legs during the whole exercise. Starting off with extended arms and legs is alright, as long as you keep working on restoring them.
3. Dolphin Plank
Plank posture is a simplified variant in which the forearms are horizontal on the mattress while doing the asana. As a tough core-strengthening posture, Dolphin Plank also targets the arms, thighs, and glutes.
In a Vinyasa flow or power yoga session, you’ll likely encounter the posture known as Dolphin Plank. Begin on your knees with your hands clasped behind your back.
The forearms should be lowered one at a period onto the mat. As if in Dolphin posture, raise your toes off the ground.
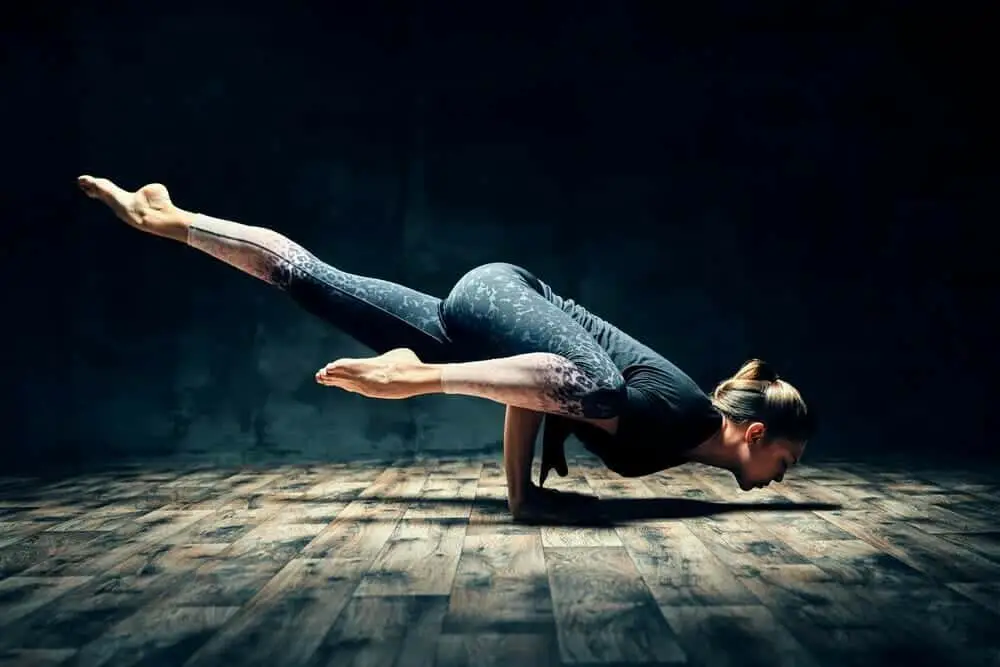
4. Scorpion Pose
An inversion and deep backbend are combined in Scorpion posture. It is a difficult yoga position that demands strong forearm stability. It looks like a striking scorpion with its tail arched over its back and striking past its head in a full Scorpion stance.
Begin on your hands and knees for the first time. The elbows should be connected with the shoulders as the forearms descend to the floor (hands turned slightly in) Lift yourself into a forearm stand by straightening one leg at a time. Lift your chin and bend your knees. You’re slowly running out of time! Check out here what others have to say on this pose.
5. Shoulder-pressing Pose
Lie on your back with your legs wide apart and your feet just less than shoulder-width apart. Lift your body across your inner thighs until it’s perpendicular to them. Lift your hips till your thighs are almost perfectly straight while maintaining a low torso.
Get as close as you can to the backside of your left leg just above knee level by squeezing as much of your left upper shoulder and arm as possible beneath the thighs and placing your palm on the floor with your fingers pointed forward.
Afterward, repeat the process on the right side.
6. Hurdler’s Pose (Eka Pada Koundinyasa II)
You’ll definitely like hurdler’s posture the most if you have open hips. It requires both strength and mobility. Yoga practitioners love it since it’s easy to include in vinyasa sequences!
Assume a downward dog position to begin. The three-legged dog is achieved by lifting one leg high into the air. Your elbow should be on the outside of the knee you are hugging.
- Extend your arms backward so that your inner leg lands on your triceps and keep your gaze ahead.
- Elevate your toes off the floor by activating your rear leg. The best way to discover strength and balance is to squeeze your thigh and elbow together. As high as you can get your inner thigh to rest on your triceps.
If you’re having trouble locating it, look forward to helping you. You should push deeper into your hands and pinch your elbows in if your chest drops much toward the ground.
You may rest your rear leg’s hip bone on your tricep to improve your upper body stability.
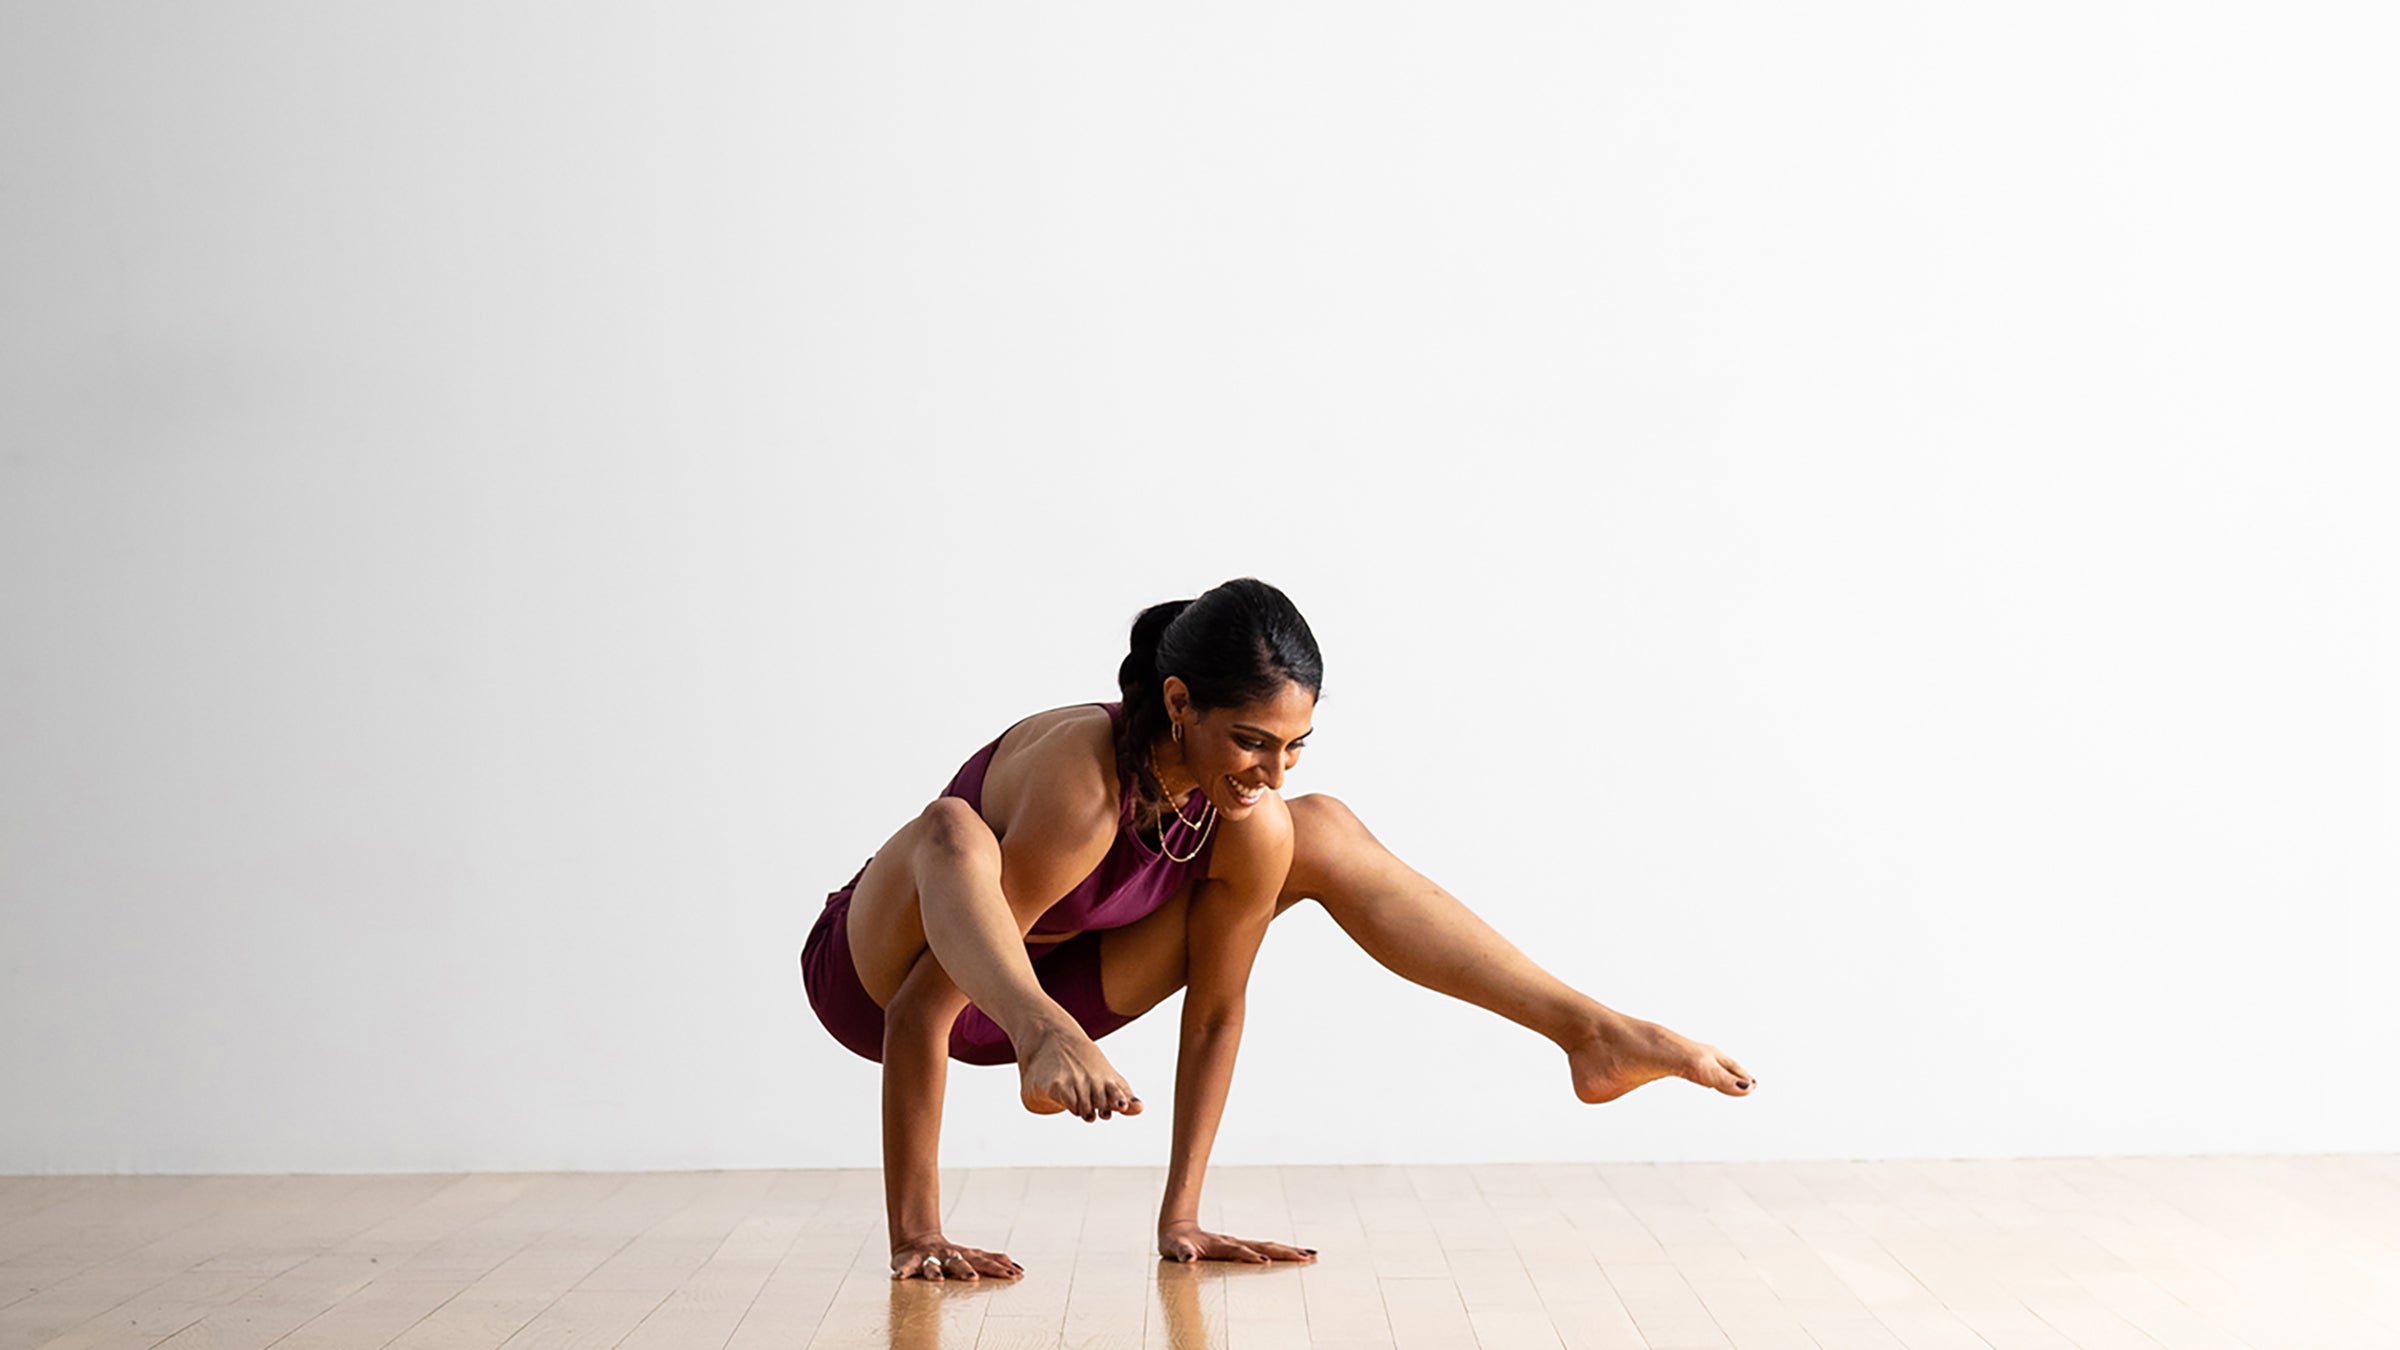
7. Side Crow
Begin in a tucked squatting position on the ground. Plant your hands on the ground with your body twisted to the side. Press your outside thigh against your triceps while bending your elbows.
Focus your sight ahead as you begin to lean forward. Lift your toes off the floor after you’ve found your center of gravity.
Make a fist with your inner thighs and hold it there.
Keeping your elbows hip-width apart on your thigh is the most important thing.
Don’t let your hips take all of your weight. Make sure your front and rear elbows are equally weighted.

8. Swan Pose
Cow/cat posture is a good starting point (Marjaryasana). Make sure that the knees are apart but the feet are in close proximity. Extend the arms in front of you, fingers pointing back towards your body. Bend the elbows and bring the wrists together.
The abdomen should be supported by the upper arms and elbows. Place the tops of the toes or balls of the feet planted while straightening the legs one at a time. Maintain a straight line of vision while extending the neck.
To get out of the posture, bend your knees and go back to where you were before you entered the pose. Hold the stance for one to five breaths, and then do it three times. If you want to know more about this pose, just click here for further details.
9. Four-Limbed Pose
The hands should be aligned only with the shoulder and usually slightly broader than the chest in plank posture. The shoes’ heels and toes will be in perfect alignment. Rock forward on your toes and continue to swing your elbows.
In this position, the elbow and wrists are stacked, and the brachial bone is parallel to the ground. Keep your whole body in place. This pose may be held on its own, or it can be utilized as a part of a sun salutation sequence.
Return to plank stance by pushing up from the ground or by sliding the chest forward after pushing into Upward Facing Dog to emerge out of the pose.

10. Visvamitra
Start with a lunge. Extend the arm and shoulder beneath the right leg while placing the right hand around the outside of the right foot. Make a flat turn with your left foot.
Take a step forward with your right leg. Lift the left arm and point the fingers of the left hand upwards. Lower your left hand to the ground, followed by your right foot.
When you’re ready to resume your lunge, untangle your right arm and shoulder from the sling. Continually do this on the opposite side.

11. Monkey Pose Aerial
Starting in the inner thigh fly, and move forward and into a prolonged seal stance. From this position, transfer your body weight to the right and grasp a piece of silk with your left hand while keeping your back straight.
Take a deep breath and extend your left arm out in front of you until your torso is parallel to the ground. First, go through the inner thigh fly, and then move forward into the extended seal posture to complete the asana.
From this position, transfer your position to the right and grasp a strip of cloth with your left hand while keeping your right arm free.

12. Seal Pose Aerial I
The posture strengthens and expands the abdominal yet at the same time focuses on strengthening your spinal bending, arm power, and grip. Improved compliance and forearm and shoulder endurance will be strengthened as the transition in and out of this position is accomplished.
Continue by stepping in the cotton with the cloth crammed into the arches of both feet. Slide one foot forward from the silk and twist the toes from behind the fabric to step your pressure into the tied foot. Do the same on the opposite side so both feet are tied. There really is tight confinement on the feet and strong shoulder flex necessary for this pose.
Because the feet are tied, a fall might result in catastrophic harm if a firm hold is not obtained. Always practice with care. Don’t hesitate to check an improved guide on this pose here.

13. Peacock Pose
Flip your hands because then your fingers point back towards your legs from a tabletop stance. Extend your arms and lean forward and with your shoulders. Relax and let your head fall towards the mat.
Elevate your knees off the ground and push your pressure forth into your entire torso by tucking your toes. Raise your toes off the floor one foot at a time by squeezing your inner thighs.
Support your body on your elbows by keeping your elbows as close together as possible.
Prevent overstraining your wrists by keeping your upper body in a nearly vertical posture.
You may experiment with different leg positions to see which one is most comfortable for you.

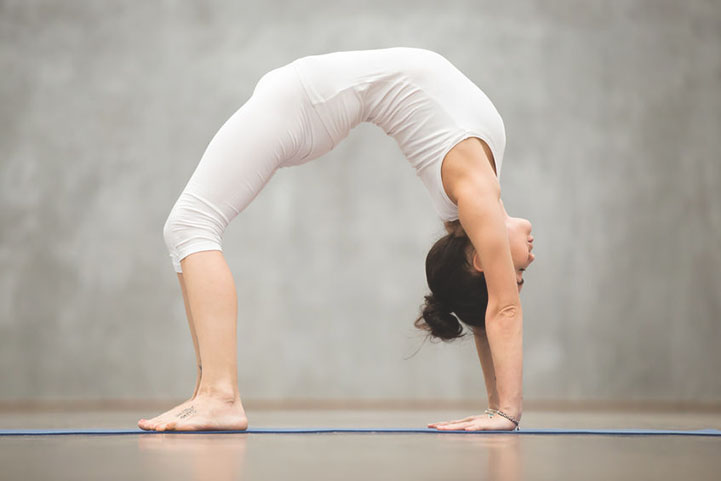
14. Wheel Pose (Chakrasana)
The English name “Wheel Pose” comes from the Sanskrit term “Chakrasana,” which means “wheel” in Sanskrit. In this position, the body is curled in such a way as to resemble a wheel. This position falls under two categories: advanced yoga positions and mendacious yoga poses.
It is also included in the Asanas for Back Bends. The odd posture and motion relax the body’s energy and increases one’s self-confidence. Breathe in and lay your palms backward on the floor at your upper shoulders.
Urdhva Dhanurasana, or Wheel Pose, may be achieved by inhaling, placing your hands on the ground below your shoulders, and raising your whole body upward with yet another inhaling.
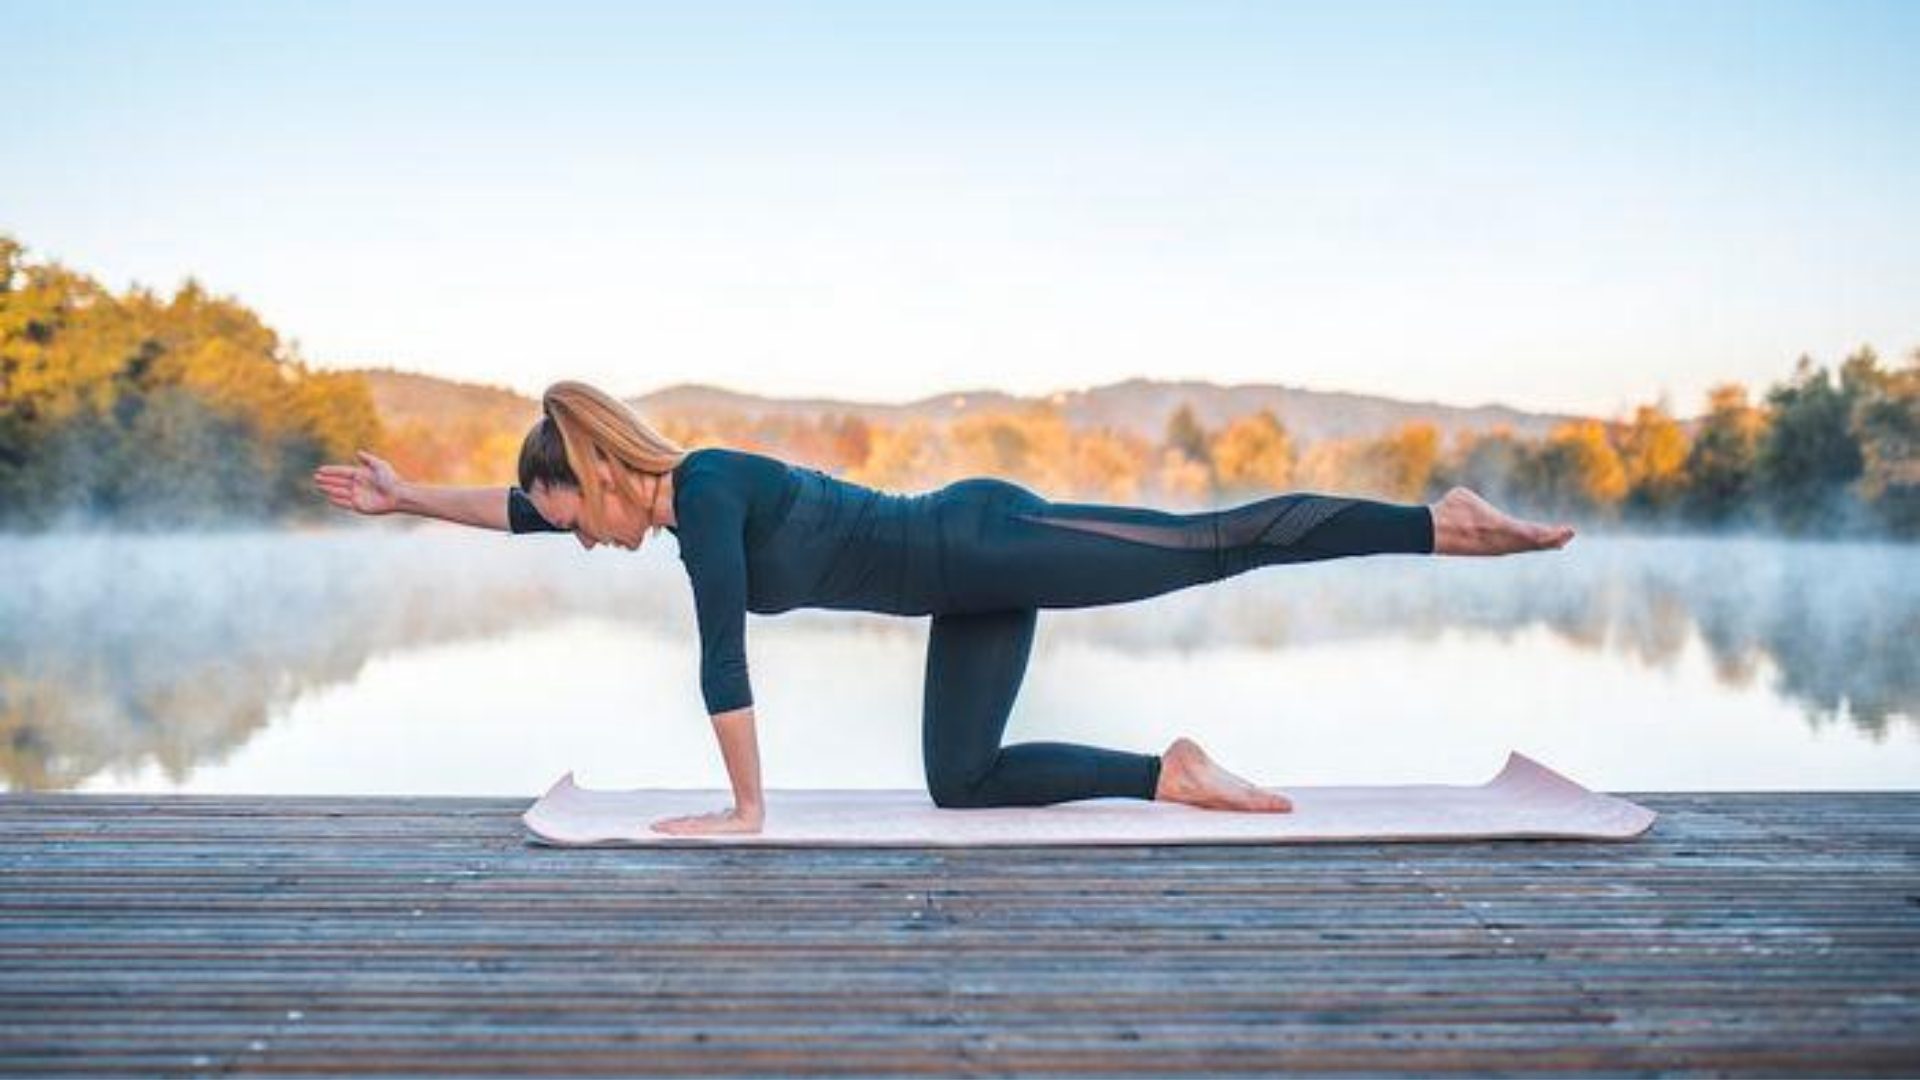
15. Balancing Table
Balance, rhythm, and alignment are all improved by balancing on top of a table. The position of the balancing tabletop may be adapted for mild sequences or made more dynamic as a core builder for high-intensity yoga programs.
Gaining arm strength is one of the many advantages that come from playing Balanced Table Top. Get down on your knees in a tabletop position to get started. Straighten your right leg by sliding your right toes back.
Lift the right leg as you inhale, keeping it parallel to the ground. Toes pointing back towards the wall. Keep your eyes fixed on the middle of your hands. Elevate the left arm so that it is symmetrical.
Conclusion
Hopefully, we’ve managed to present to you the basics of the yoga arm balances as well as what poses are the best fit for such exercises. Our article couldn’t cover all possible ones, however, the most important thing is to get familiar with the most common ones first, right?
Well, we thought so too. Just be persistent and don’t quit too soon. Without proper fighting, yoga practices can’t be perfected. Anyways, feel free to comment if you have any other poses you consider better for arm balances.