Luckily, a yoga swing is a small and inexpensive piece of equipment that can help improve your overall strength, mobility, and balance. Combine with a yoga swing pose to release your body like a bird.
If you are interested in yoga swing, Let’s dig into it.
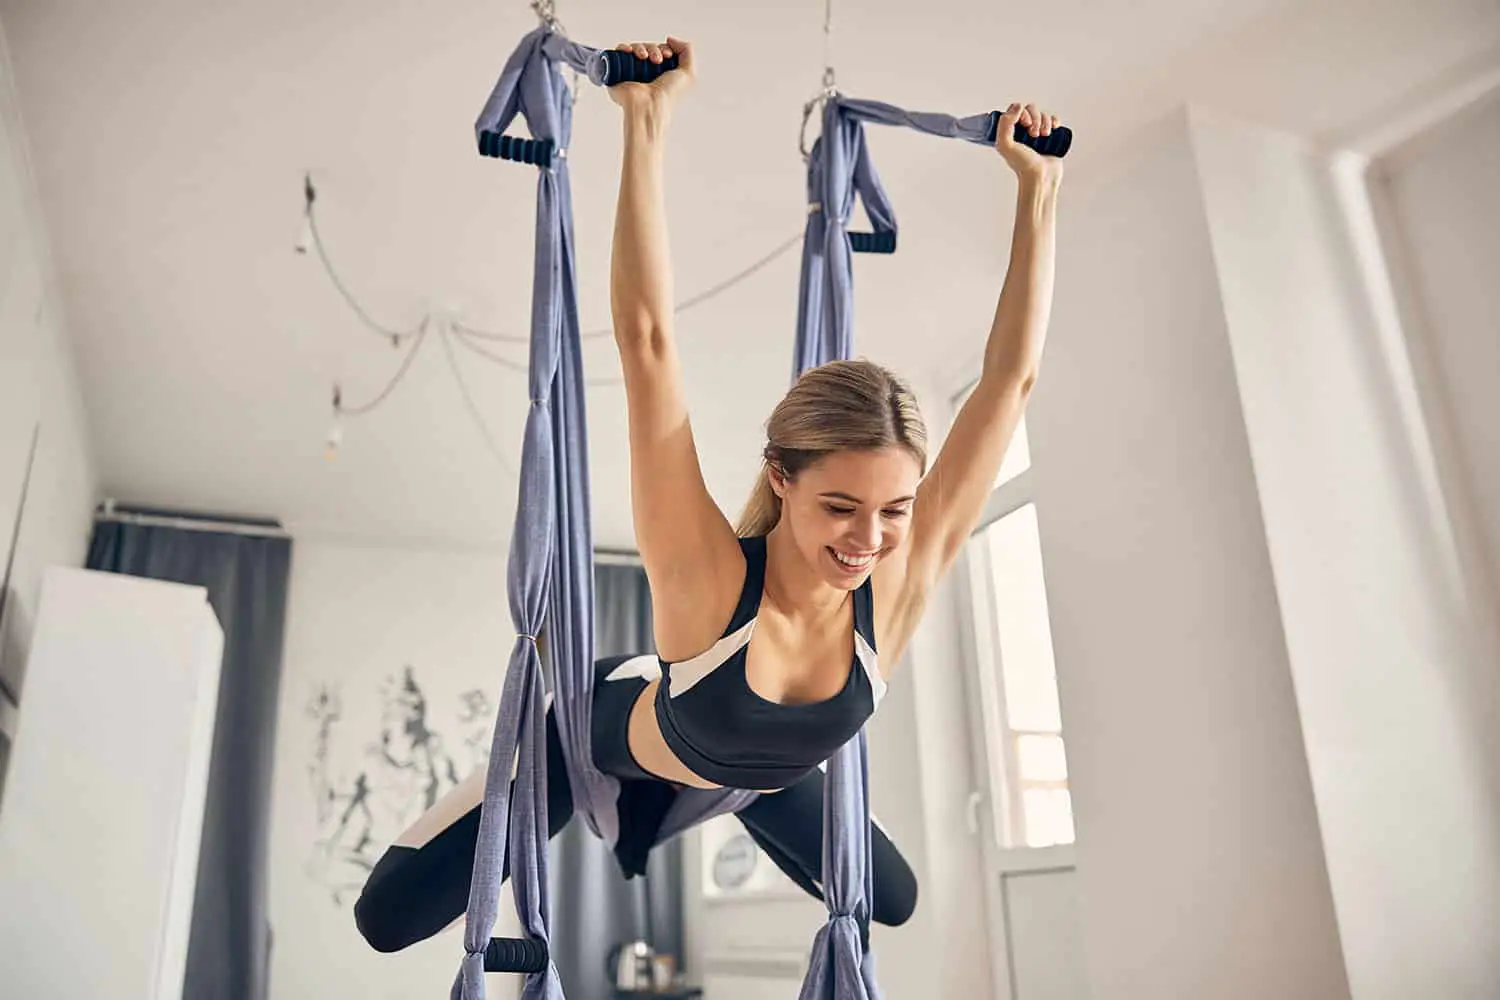
What is a Yoga Swing?
A Yoga Swing is similar to a Pilates machine, but it uses swings instead of ball bearings. The swings create resistance against the body as the user moves through their poses.
Yoga poses can be modified to work with the aerial yoga swing. The yoga swing pose belongs to aerial yoga, an exciting form of yoga. Yoga swing helps yogis to learn, study and explore yoga poses in a unique and meaningful way.
Make sure that you have enough room to move your arms and legs while swinging. Next, find the poses that you want to work on.
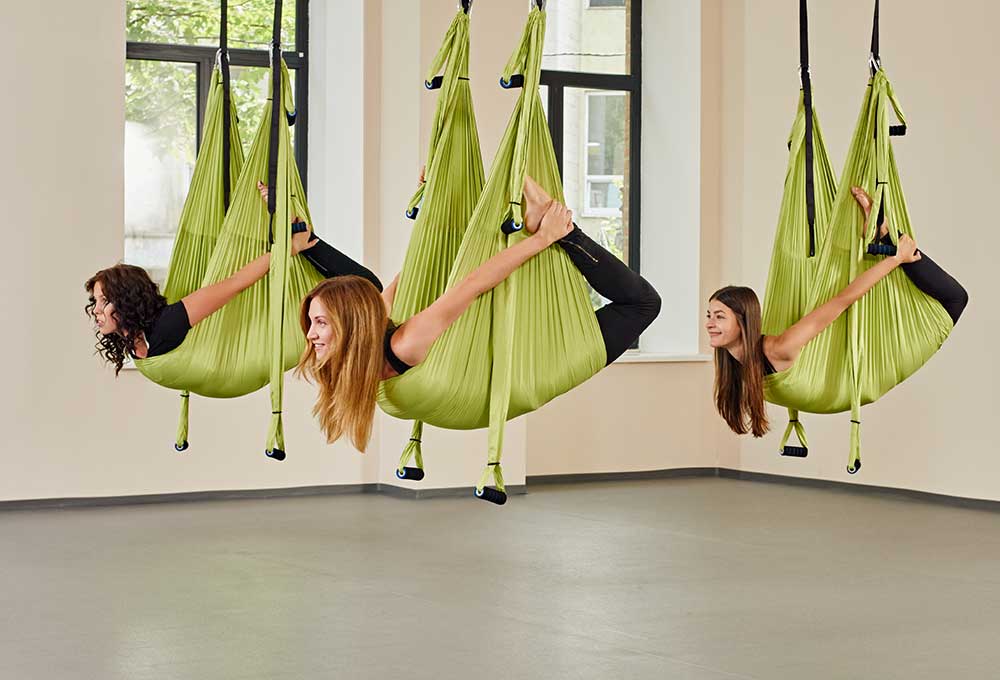
Aerial yoga swings are perfect for strengthening your abs, back, and pelvic floor muscles.
The Benefits of Yoga Swing Poses
Yoga swing poses are a great way to strengthen your core. They work your abdominal and back muscles, as well as your hips and thighs.
Some of the best yoga swings poses to strengthen your core are bow pose, plank position, and camel pose.
Bow pose is a good starting point for many beginner yoga students. It strengthens your abdominal muscles, as well as your back and hips. A plank position is another great pose for strengthening your core. It also works your abdominal muscles and the muscles in your legs.
Tips for Beginners to Do Yoga Swing Poses at Home
If you are a beginner, there are a few things you should know before beginning to do yoga swing poses. First and foremost, be sure to warm up your body by doing some seated or standing stretches. You can then move on to the yoga swing pose sequence.
The first step is to find a good place to do your swings. Ideally, you will want to find a spot that has some soft padding on both the floor and the ceiling. This will protect your knees and hips from injury. When you are ready to begin, make sure that you have a blanket or towel at the ready in case you get sweaty during your swings.
To get started, here are some tips for beginners to yoga swing poses:
15 Yoga Swing Poses for Aerial Yoga
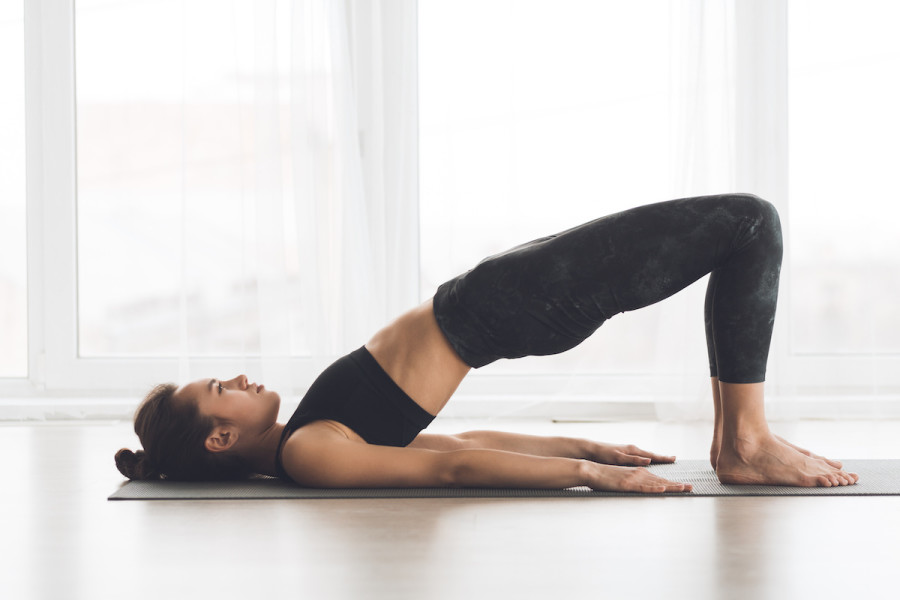
- Posterior Pelvic Lift: Lie on your back with feet flat on the ground and arms at your sides, legs bent so that the thighs and shin are parallel to the ground. Inhale as you lift your hips and upper torso off the ground, extending your legs and torso until your legs are in line with your hips. Hold for 2-5 seconds, then slowly lower yourself back down.
/Verywell-01-3567179-Pelvic01-035-5989fd580d327a00115d01cc.gif)
- Bridge Pose: From downward dog, press down through the heels of both feet and push up through the fingertips of both hands to come into a bridge pose with legs together and chest lifted high. Press the hips forward until they touch the knees, then slowly lower them back down again.
- Pigeon: Lie on your back with both feet flat on the ground, shoulder-width apart. Place your hands on the floor by your sides. Inhale and raise your hips so that you are sitting up tall with legs bent at the knee, then exhale and lower yourself back down to the starting position. Push through your heels to keep your hips high during this pose.
- Cow Pose: Position yourself in a Downward Facing Dog position with both feet flat on the ground, shoulder-width apart, and knees bent to 90 degrees. Interlace your hands behind your head, then lift your gaze towards the sky as you contract your abdominals and glutes. Hold for a few seconds before slowly lowering back down to the starting position. Repeat on the other side. Switch and pose from Downward Facing Dog to Side Angle pose, then switch back to Downward Facing Dog before returning to your baby position. This makes up one rep of the Soothing Killers workout.
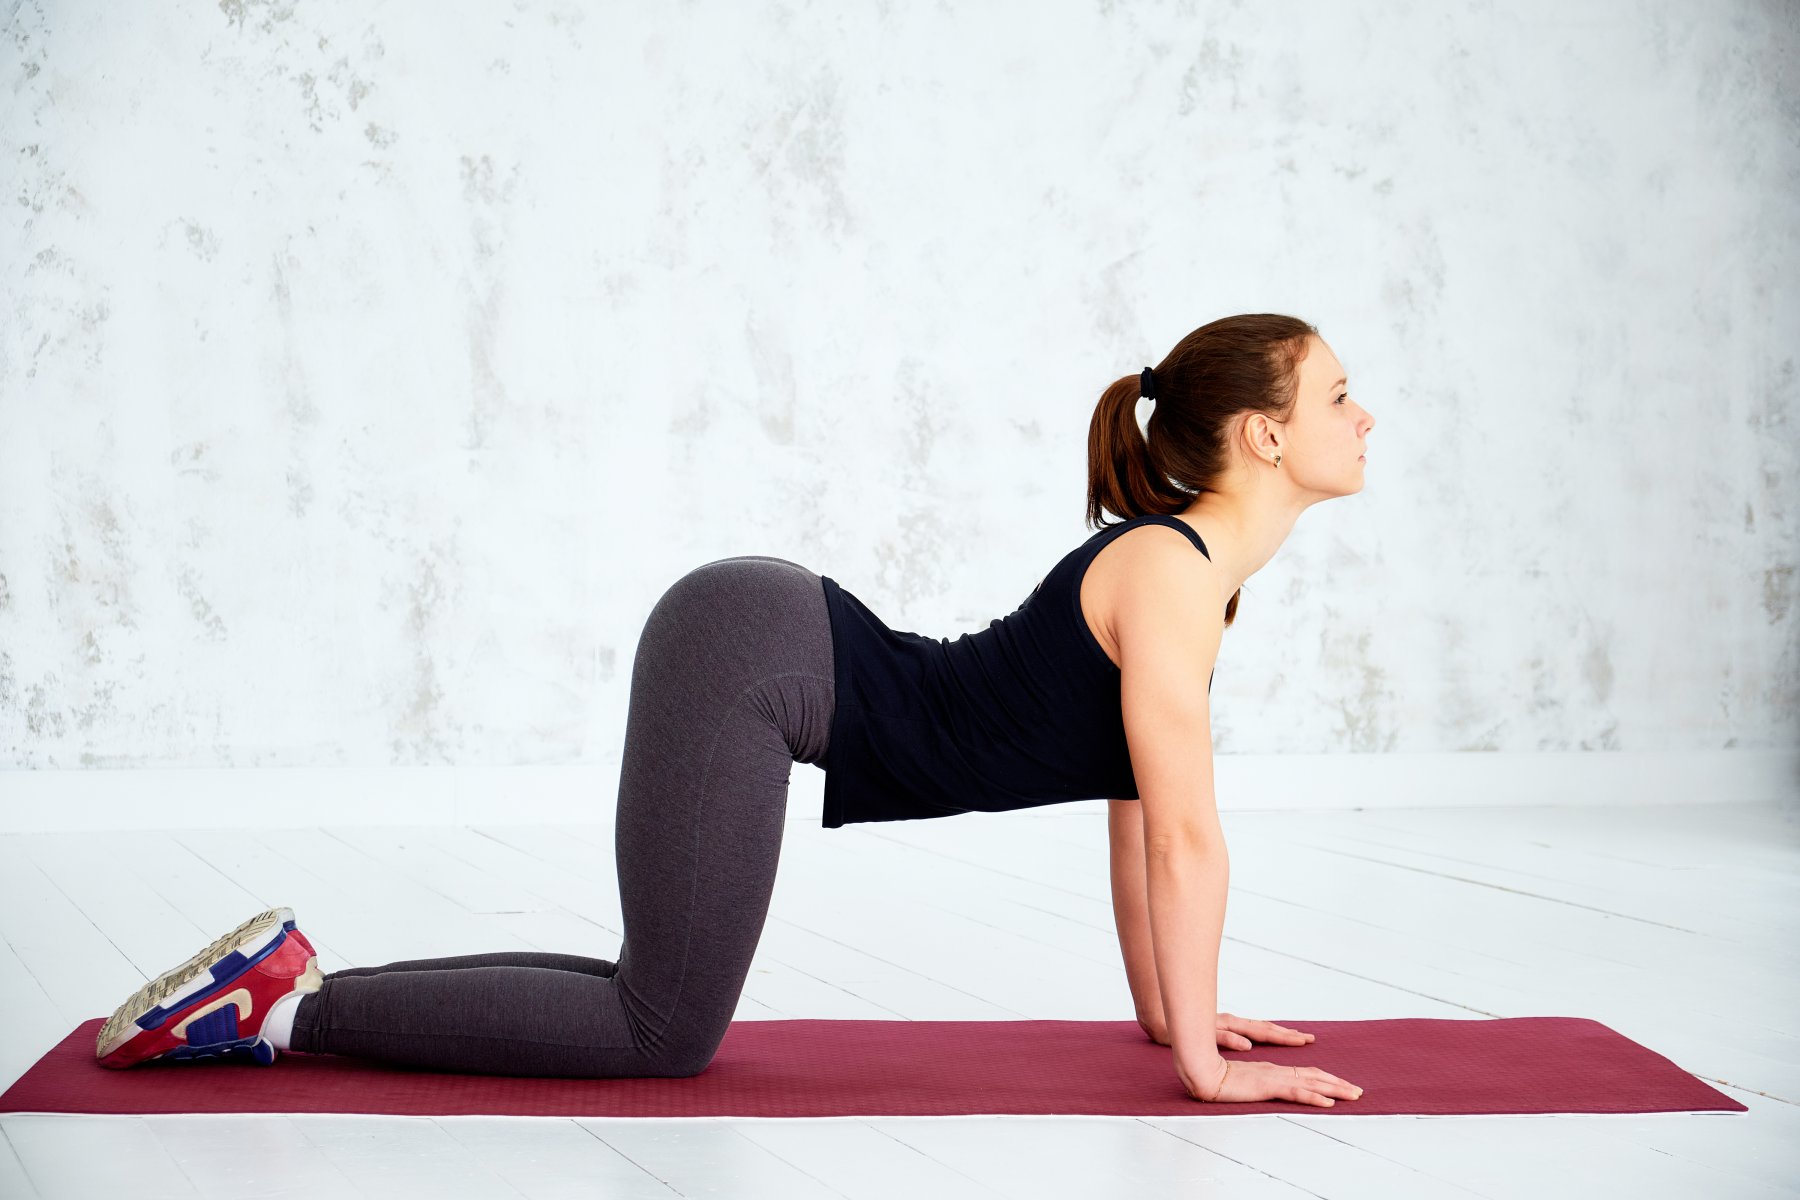
- Downward dog: a great pose for strengthening your abdominal muscles. Bridge pose helps to stretch your abs and lower back, and plank pose strengthens your core muscles and helps to keep your spine straight. Down Dog is the simplest pose, and probably the one you’re most familiar with. It’s also an excellent starting point for any yoga flow that might include inverted poses, like Cat & Cow.

- Cat & Cow poses: as its name suggests, Cat & Cow is a sequence of yoga postures that work your entire body. It helps to build strength in the torso and wraps up with backbends – such as Bow pose and Turtle pose – for an amazing strengthening effect. The Cat & Cow sequence can be performed without any props, but whichever pose you choose, it should always be preceded and followed by a breath-free backbend.

- Supta Baddha Konasana (Reclining Bound Angle pose): Also, perhaps one of the toughest poses to master. This pose is also known as Corpse Pose or Bound Angle. In this yoga posture, you lie face down on your mat with your knees bent and feet flat on the floor but letting them relax naturally. To start Supta Baddha Konasana, find a normal standing position and then, while keeping those feet straight, bend your knees deeply. As you go deeper into the pose, begin lowering yourself slowly to soften your back muscles. While you lower down, keep your wrists in line with your ankles and roll your cheeks towards the floor to prepare for a deep forward bend. You should feel as if your face is touching the ground and that your head has turned towards your chest. Do not push off onto your hands at this stage.

- Bracing Steps: Carefully move into the next stage of Supta Baddha Konasana – rolling from side to side over your knees until you fill the full forward bend. Bring your hands on either side and then, bring your toes together towards the top of your foot and lift up your heels.Sit at the front edge of your knee bones with your thighs vertical to keep yourself balanced (see middle image below). Take a few breaths and engage all four limbs, head, heart, shoulders, arms, and legs – sending energy into them all to take this pose further into Hatha Yoga. Do not let any limb go slack as it can cause you to lose your alignment.
- Ritual pose: This forward bend stretches out your inner legs and hips and gently opens up foot and ankle mobility. You can also accomplish this practice by wearing a bit of body weight, and by placing your hands on the floor about an inch below and behind your knees. This anchors you in a place of awareness and the sensations will bring your awareness to feeling, sensation, and alignment. After bringing your legs together send energy into them as you fold forward toward the floor but keep rhythm and stillness as described for forwarding bends. Feel each foot close gently to its neighbors as you relax deeper into Lotus or baby’s pose.
- Cobra position: strengthens your abdominal muscles and back muscles. It also helps to improve posture and balance. Stand on your left foot (if you are a right-hander bend your left knee keeping your legs tight to your body.) Place hands on the waistline (shoulders can still touch palms together) and move arms up, one at a time, so that you create a crab shape. Look straight forward before opening both arms outwards and down again.
- Reverse Trikana Mudra: It helps to strengthen muscles in your spine, upper back, and abdomen areas as well as stretch them out and relax them. It relieves pain in the lower abdomen and feels good for your back and neck if done properly. Disclaimer: If a therapist/physiotherapist/referral pathologist is recommending these exercises, ask them about the source of their knowledge about these exercises (no online magazines like Reflex or message boards do or claim).
- Triangle: The triangle pose stretches your chest, shoulders, and neck muscles. It also strengthens your triceps and quadriceps muscles. Helping you relieve pain in your lower back and upper body. Tree Pose: It helps to release ‘headaches’ in your head hanging vertebrae, spine (whole front), and “creates space” for your chest allowing tissues from the neck to release down into your upper body.
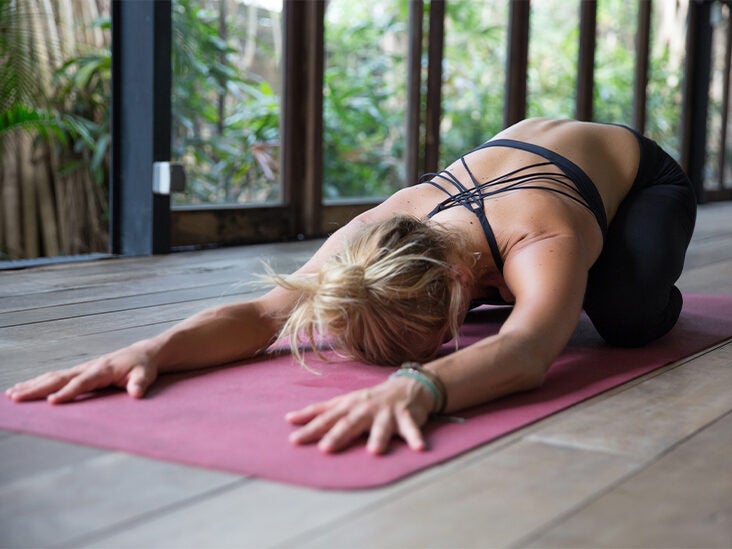
- Child’s Pose: The child’s pose strengthens your core muscles, along with stretching the lower back and reducing tension. To do a child’s pose on a yoga swing, start in a downward dog position with your core engaged and your arms reaching overhead. Hook your thumbs into the ropes overhead and lift your hips off the ground. Keep your spine straight and extend your legs out toward the swing before lowering yourself back down to the ground. Repeat this cycle several times for a killer core workout!
- Bent-knee goddess pose: This is a variation of a child’s pose that is more challenging. Instead of lying down flat on the ground, rest your forearms on the ground beside you and hinge at the waist, so that you are sitting up with your feet resting on your thighs. Flex your feet and dislocate your hips until they form a right angle with the floor. Hold this pose for about 30 seconds, then slowly lower yourself back down to the ground.
- Warrior 1: To do this pose, start in a downward dog position with your hands at your sides, then slowly lift your torso upward until your upper legs are parallel to the ground. Keep your hips grounded and focus on keeping your spine straight. Hold the pose for 3-5 breaths, then slowly release into a downward dog again.
Conclusion
There is no one-size-fits-all when it comes to yoga, as the poses and sequences will vary depending on your fitness level, flexibility, and overall conditioning.
If you’re looking to strengthen your core, there are several yoga swing poses that can help you achieve this goal.
If you know of other yoga swing poses, please feel free to leave a comment down below.